Visualizing Rosie using Wonderland Engine
Hello Coders! 👾
I’m excited to talk about the journey of bringing Rosie, my AI assistant, to life through the power of 3D visualization. This project has been a blend of technology and creativity, featuring tools like AvatarSDK, Blender, and the Wonderland Engine, along with the Azure Speech SDK. The path from a simple idea to a detailed 3D avatar was not without challenges, but each step brought us closer to creating something truly special.
Creating the Avatar with AvatarSDK
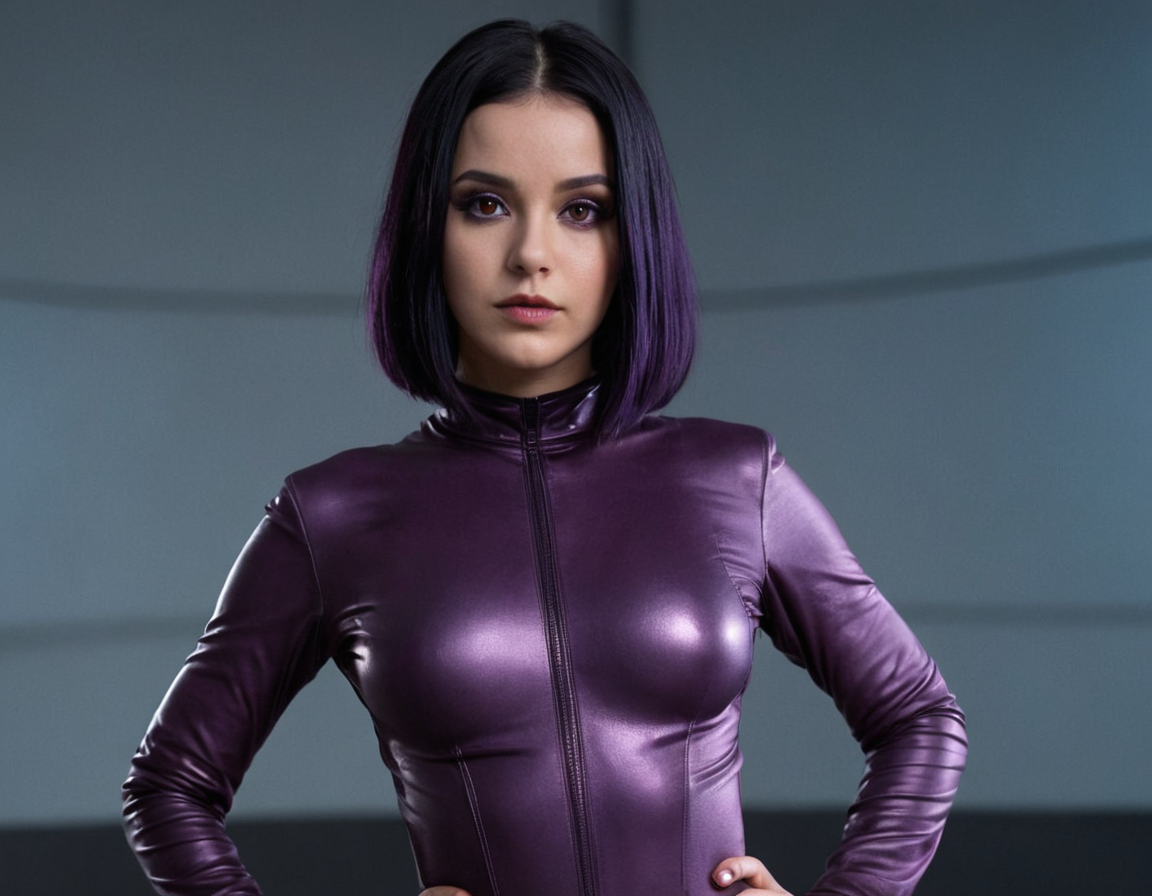
When I started the visualizing of Rosie, I began with an AI-generated image to set the foundation. This initial representation provided a crucial starting point and was used as a reference throughout the process. One of the biggest challenges was to get an image generator to create an image of a woman looking straight into the camera. This is a requirement for all avatar generators. I eventually settled with this image.
I tried a couple of different tools to create avatars. I eventually chose AvatarSDK because it had all the features I needed and offered a free trial for non-commercial use. This tool stood out because it allowed me to download the .FBX file so I could turn that into a more detailed and expressive 3D avatar. Exploring the potential for commercial applications, AvatarSDK’s integration features appeared particularly promising, setting a solid groundwork for future developments and broader usability (just in case I want to turn Rosie into a commercial product)
Image Processing
For working with the images and textures I used good old Photoshop, and another tool called
Fooocus
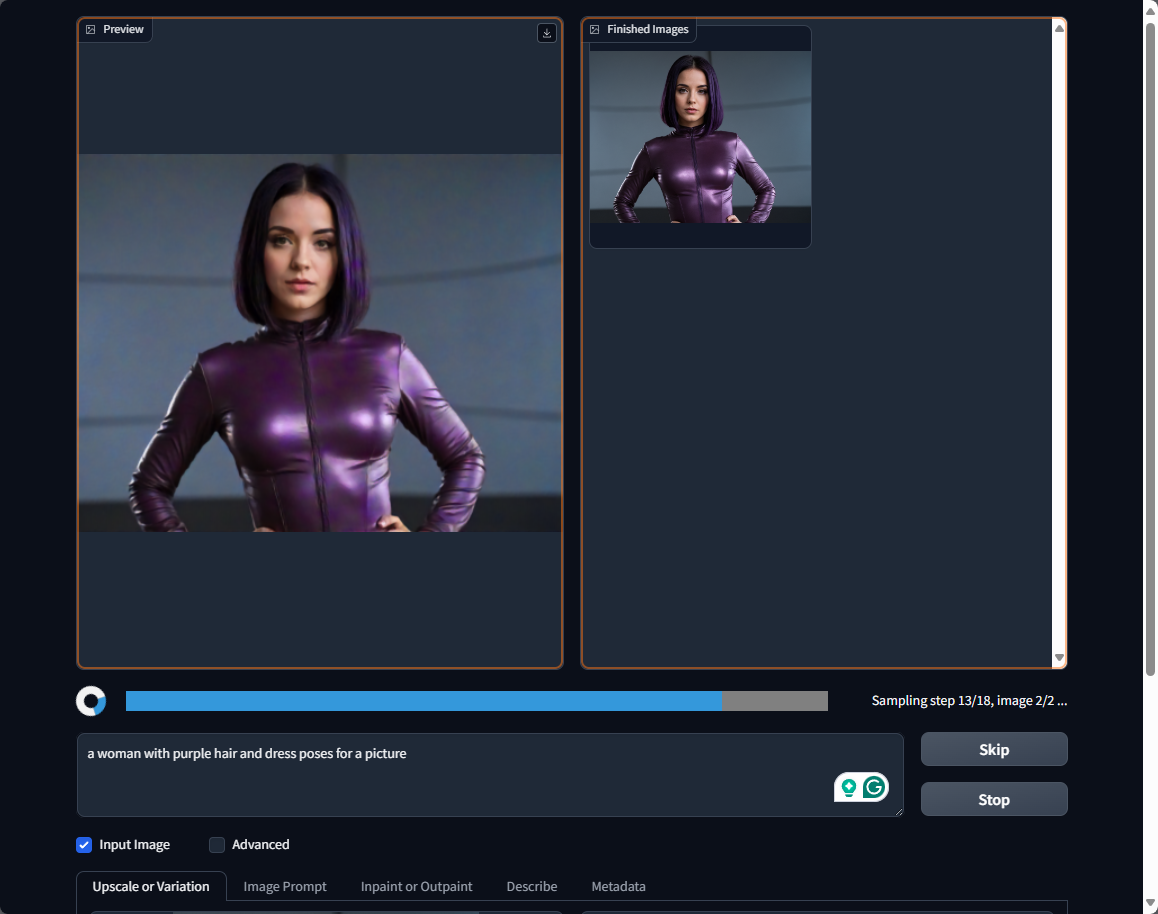
. This tool runs in a Google Colab workbook, but also locally on my machine. I started with the online version This tool helped process the image, enhancing the avatar’s realism by integrating with AvatarSDK. Fooocus also allowed for upscaling the image and creating variations, adding more depth and flexibility to Rosie’s appearance. I improved the textures in Photoshop to correct some details, created new eye textures and created a roughness map to add some shininess to her hair and lips.
Enhancing Details with Blender
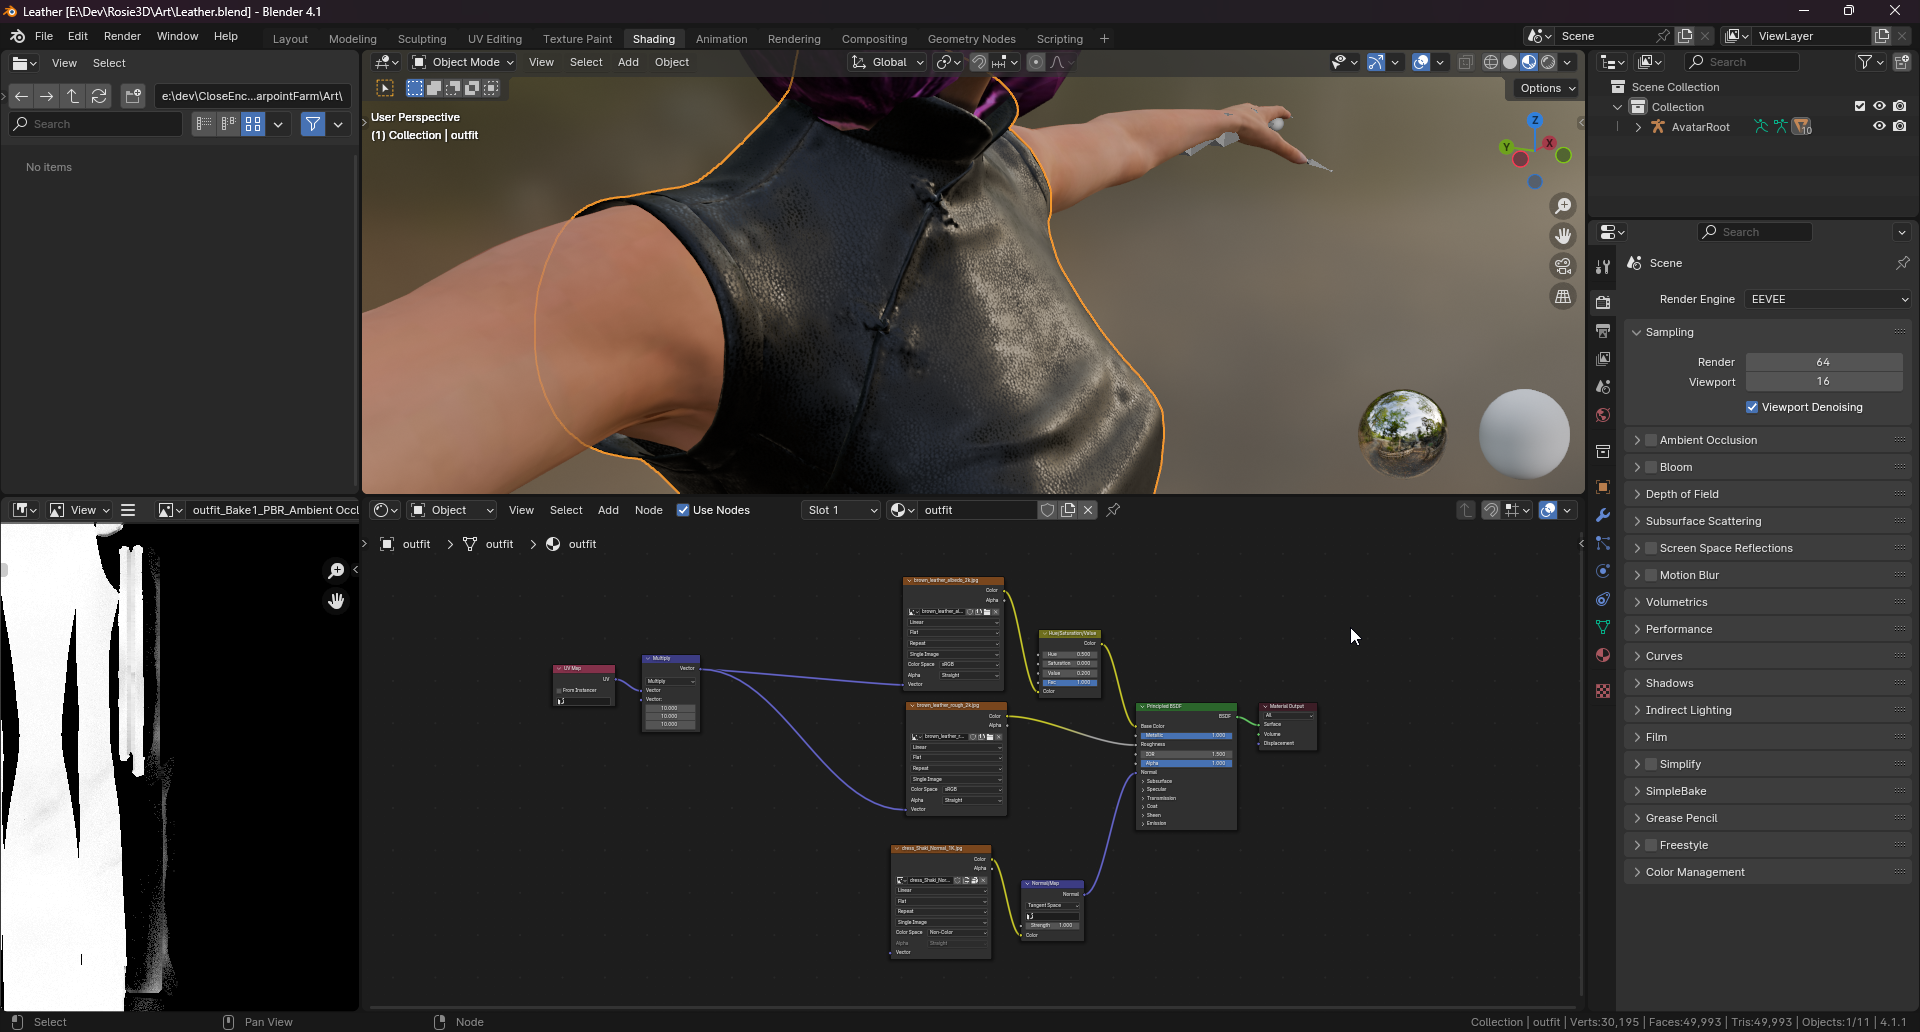
Aiming for a unique look for Rosie, I decided to create a new leather material for her dress using Blender. I’ve always drawn inspiration from Blade Runner and The Matrix. In Blender’s material tools I created a combination of the original texture and a leather texture to create something that matched my vision. Looking ahead, I want to add some cyberpunk elements to her design, neon lights, purple stripes and metal elements. Those kinds of things. I added an idle animation from Mixamo to have her move a little bit.
Integration with Wonderland Engine
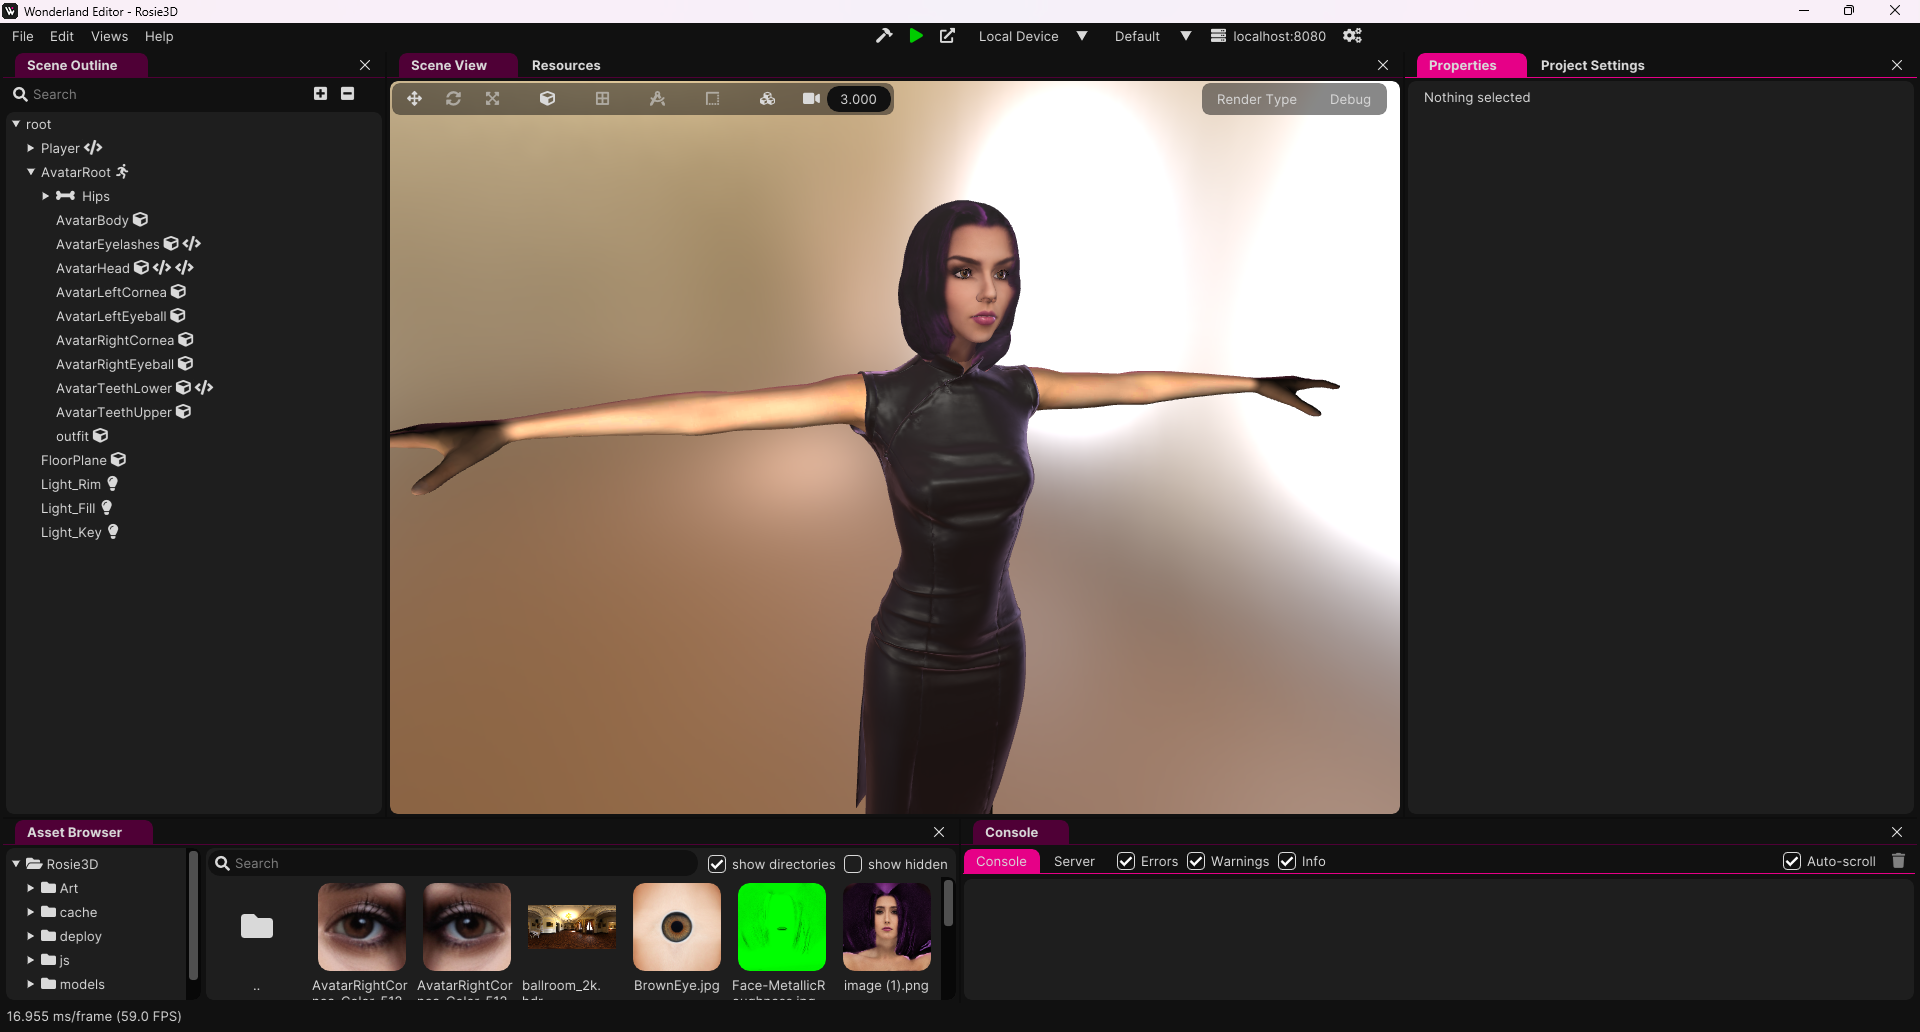
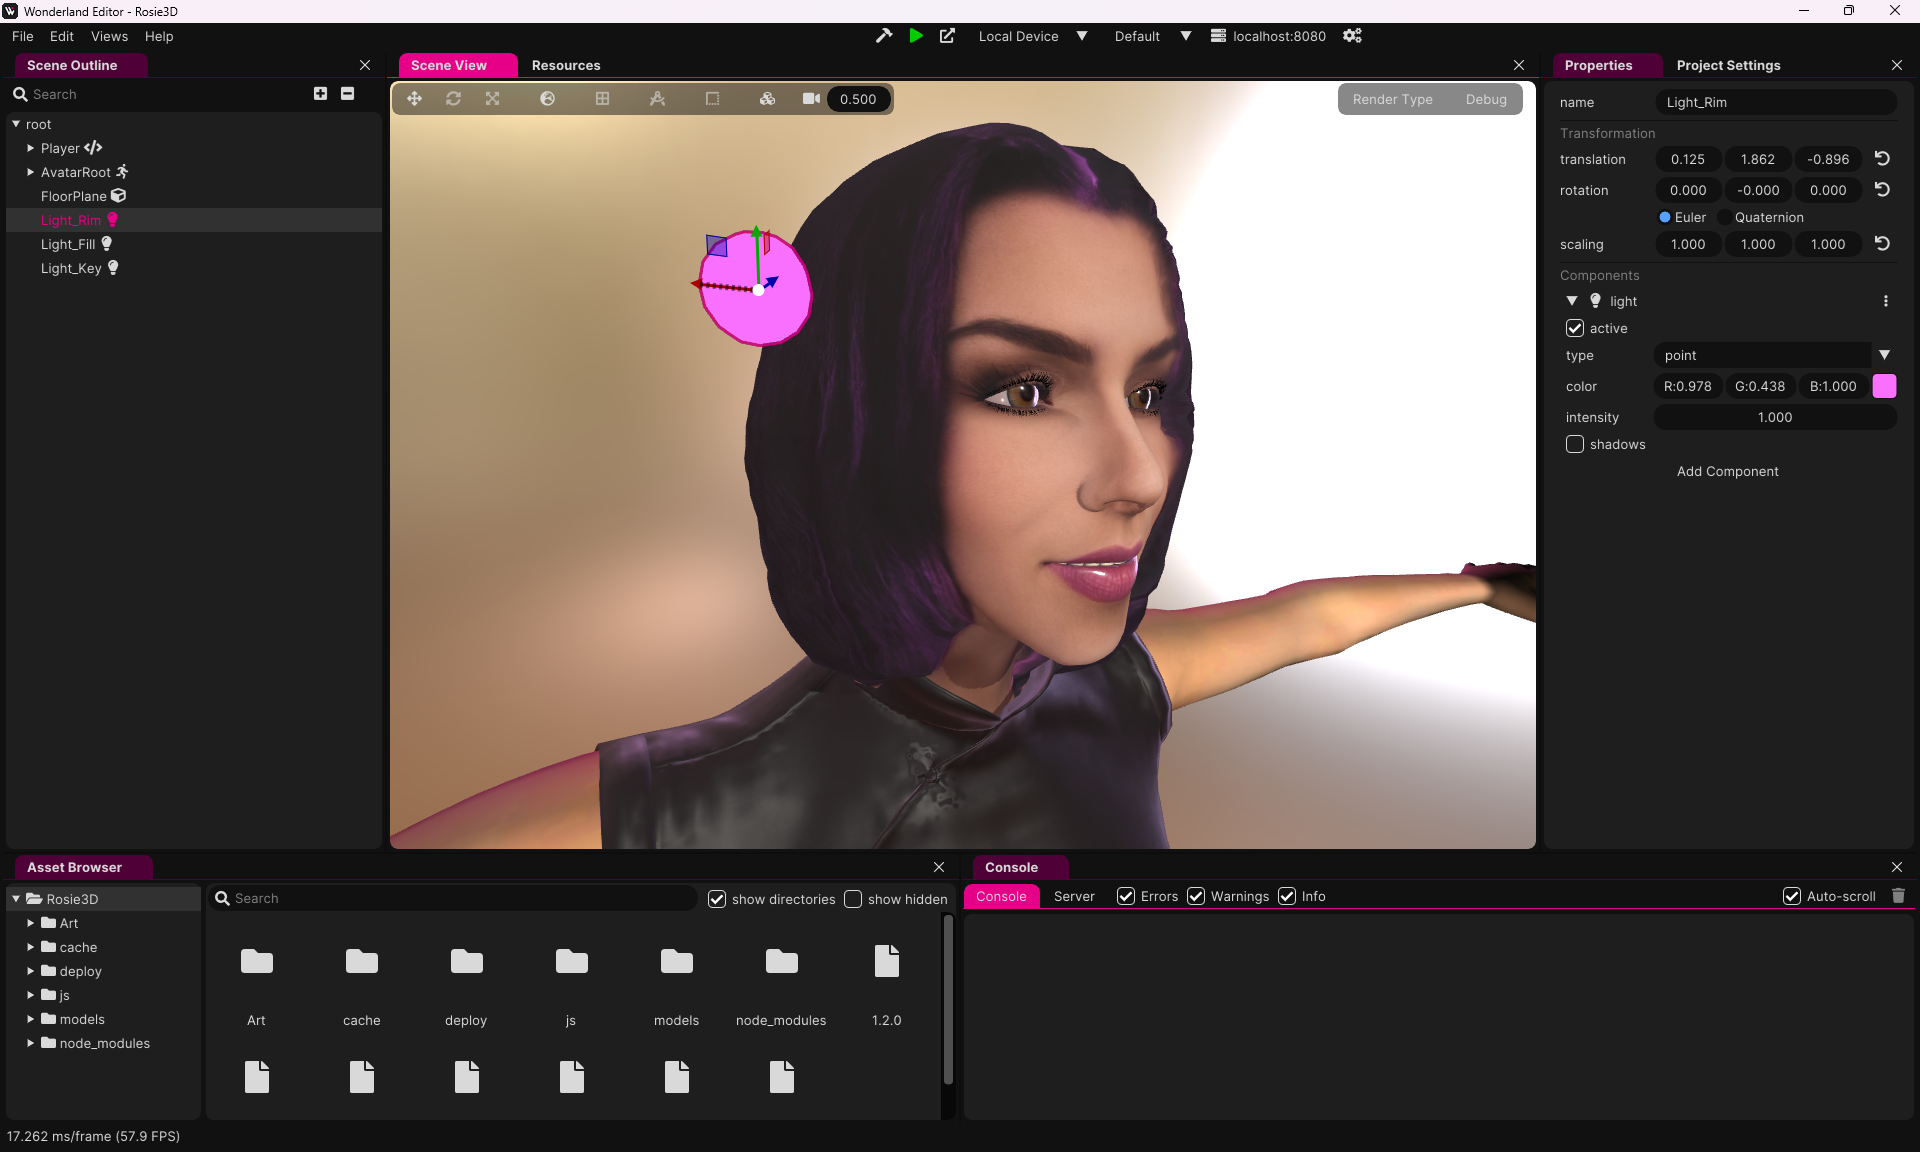
To bring the avatar to life I used Wonderland Engine to render and move the 3D Avatar. Wonderland has some nice PBR shaders to use for creating a realistic. Wonderland also supports morph targets, which are pretty much the same as blend shapes in Blender. By adjusting a value you get a change in geometry. This is often used for facial expression (as is in this case). To control the morph targets I created a component that responds to input from the main Rosie app that sends out data over web sockets. While getting mouth movement on speech is very cool, it doesn’t look very natural by itself. To add a bit more, I created a component for eye movement, so she always looks toward the camera. I also added a little bit of randomization to the rotation of her eyes, so when she looks at you it feels more realistic.
I added a basic lighting setup in Wonderland with one key spotlight, a fill light and a rim light. I also enabled the environment to add even more realism in the materials. To create a slight cyberpunk feel I added some purple to the environment lighting and the rim light.
Facial Expressions with Azure Speech SDK
To animate Rosie’s facial expressions dynamically, I used a feature of the Azure Speech SDK. Speech SDK is used to convert my speech to text to send that to Azure AI as input for GPT4. I carefully crafted the prompts so that the responses are short and can be used for spoken text. The response is then send to Speech SDK again but this time to get audio. As an extra feature you can get the visemes with time codes to to visualize the mouth. The audio is fed through a vocoder to give Rosie her distinct voice. In the vocoder the pitch of the voice is raised a tiny by which was challenging when implementing the mouth movement since the timecodes had to be scaled accordingly.
The visemes come back from Azure in a stream of events. These events are sent to the visualization part, which is a completely different app in this case, and are interpreted and scheduled there.
Conclusion
Reflecting on this project so far, I am proud of what I’ve achieved with Rosie’s avatar. This project not only pushed the boundaries of what’s possible with combining AI and 3D visualization but also highlighted the seamless integration of diverse technologies. As I look to the future, I am excited about the further enhancements and capabilities we can explore with Rosie’s avatar. I’d like to try to add more animations and emotions triggered through the AI.
I did a bit of experimenting to see if I can get the visualization to run inside OBS, the only change I made is replacing the background with a solid green color so it can be chroma-keyed. As you can see in the tweet below it works! So, expect Rosie to show up in a live stream soon!
Happy Coding! 🚀
Since Rosie is running in a browser window using Wonderland Engine (@WebXREngine) I can add her to the live streams as a co-host. I think I need to start doing dedicated Rosie-streams again 😊 #azureopenai https://t.co/MSV037QY3y pic.twitter.com/xOXHcFh5bP
— 🌷𝗦𝗼𝗿𝘀𝗸𝗼𝗼𝘁🌷 (@Sorskoot) June 25, 2024


