How to create a skydome for your game with Blender.
Intro
In my latest game Get off my Lawn! I added a skydome that shows a rendered image. Because the styles of the 3D geometry and the game itself are the same it looks as of the entire world is rendered. I have worked as a 3D modeler in the past but have never done anything like this before. I’ve learned everything in this tutorial recently and I believe it might be useful for more people to add great background to your 3D games and apps.
Equirectangular Image
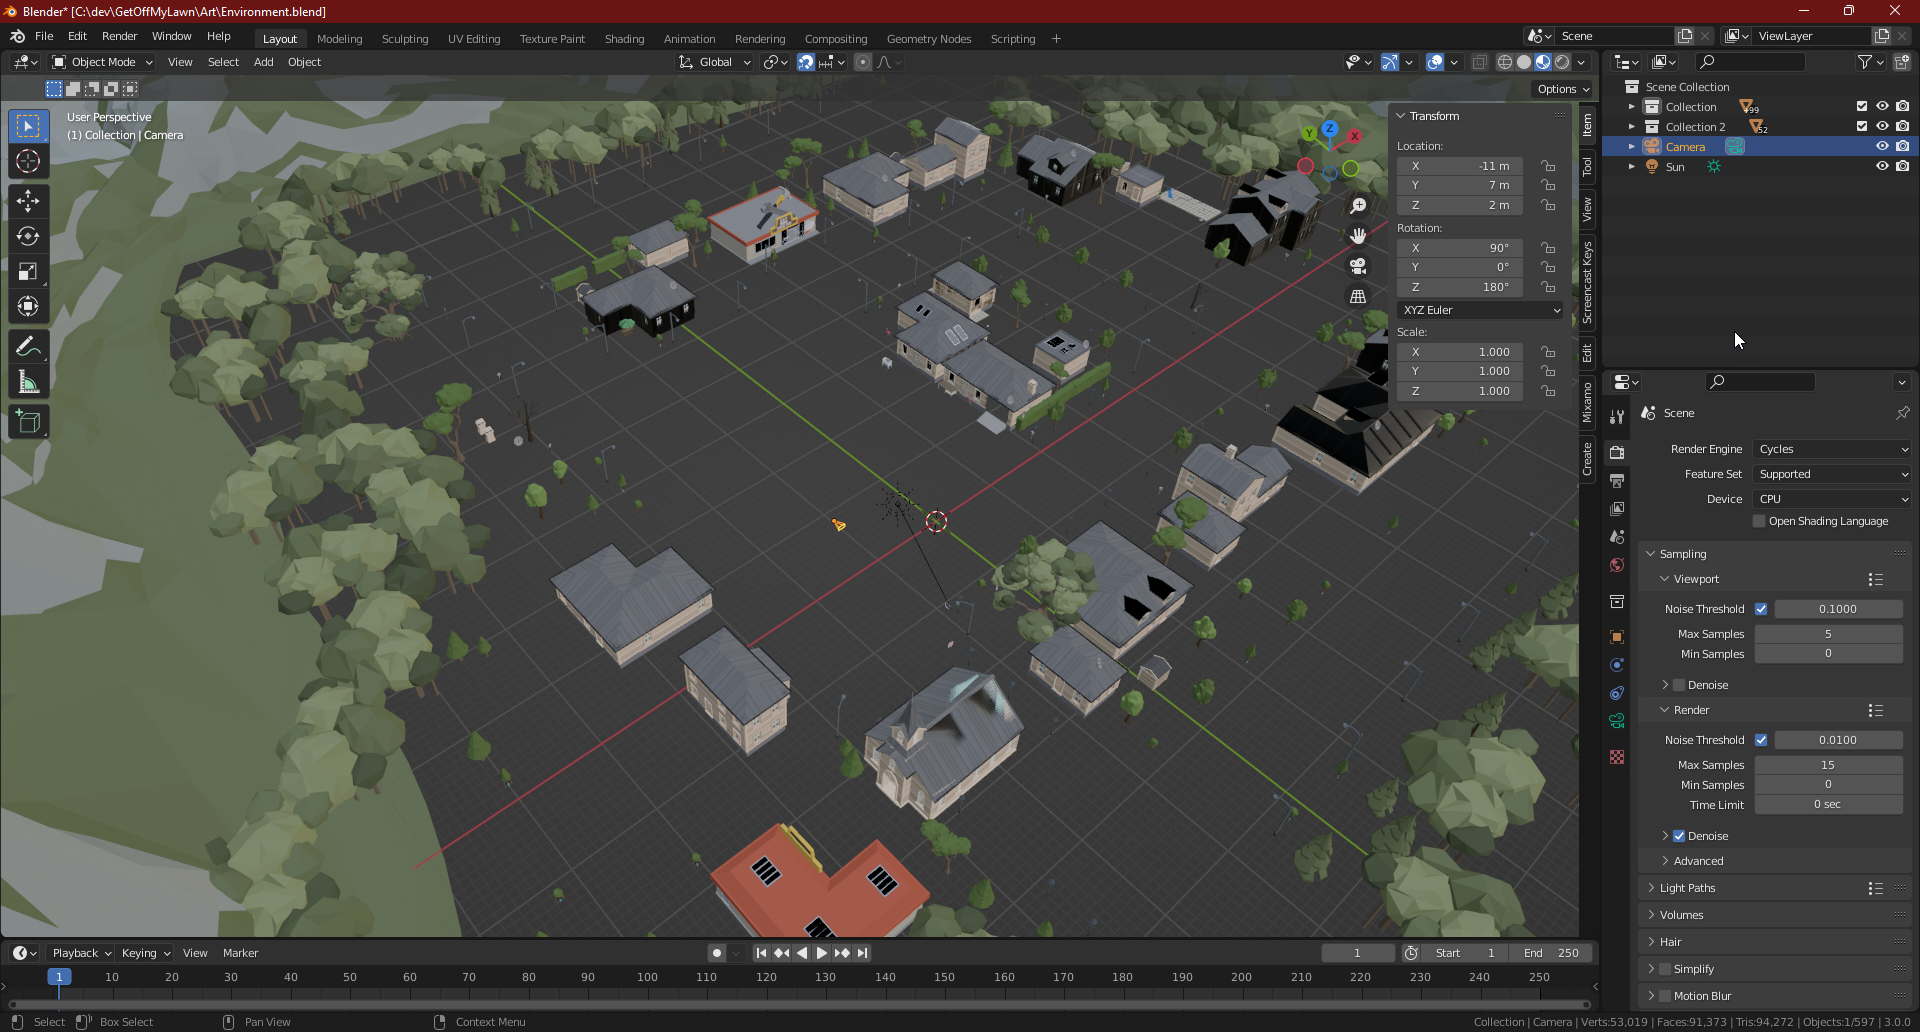
This game is built with the Town Pack from Synty Studios . In the end, I pretty much recreated everything for the game to reduce a lot of polygons. But, for the background, I used an example scene from the pack. I just removed everything I didn’t want in the render. So the rendering process would be a bit faster and not have things in the rendering that otherwise would be too close to the camera.
By default, there’s no background in the renderings in Blender. I wanted to have a clear sky. Luckily there’s one in Blender. To add one, you’ll have to go to the World Properties and add a Sky Texture by clicking on the yellow dot next to Color. Make sure the render engine is set to Cycles in the Render Properties otherwise the sky won’t render. Then, I kept changing the value of the Sky Texture until I was happy with the way the sky looked. I made the Sun Size a lot smaller and lowered the Air and Dust values. I changed the Sun Elevation and Sun Rotation in such a way that the sun would appear in the same place as the light in the scene would originate from.
Now that there’s a scene and a background it’s time to render the skydome. A normal camera won’t work in our use case. Luckily there’s a camera setting in Blender that can be used for these cases.
In the demo scene, I placed a camera roughly where the player would stand while playing the game.
Under Lens select the Panoramic Type and Equirectangular Panorama Type
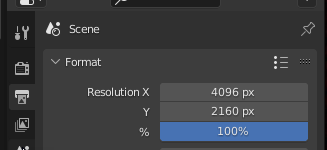
To get the background sharp and crisp we need to render a very big image. I’ve set mine to 4096 by 2160 pixels.
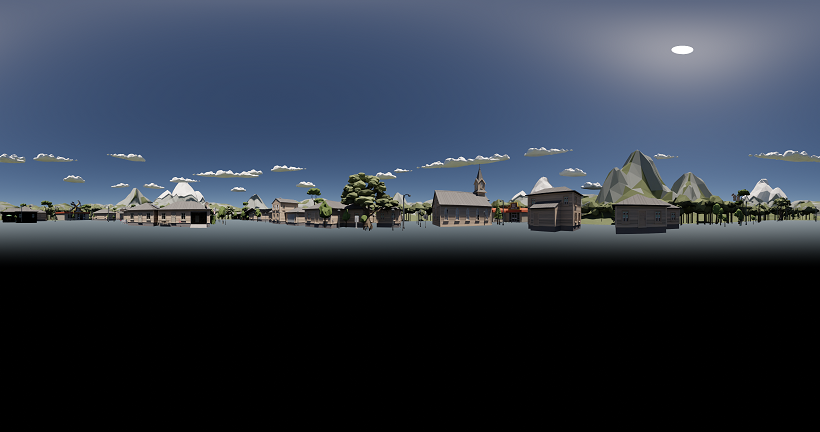
After rendering the image should look something along these lines. It’s an image that can be projected onto the inside of a sphere and can be around your 3D scene. Keep in mind that this image might be pretty big in size.
Creating a Skydome
Depending on the framework you are using it might not be needed to create custom geometry for your skydome. For example, A-Frame has a Sky component that can be textured with the skydome texture we just created. But, for anyone that doesn’t have that luxury, here’s how to use the skydome anywhere.
First, we need to stay in Blender for a little bit longer and create a new Blendfile with everything deleted. Next, create a sphere. A big one. In Get Off My Lawn! the sphere has a 100m radius, thus it’ll be about 100m away from the player in every direction. This way there’s never anything clipping through the sphere. I added the previously rendered image as a texture map to the sphere. (If anyone has trouble doing this, let me know and I’ll do a separate post on UV mapping.).
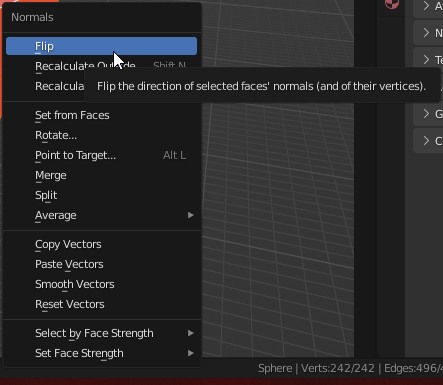
Now before we export, there’s one tricky thing we need to do. It’s not visible in Blender by default, but most engines only render the front side of the faces of the object. Backsides are normally not visible. But since we will be standing INSIDE the sphere we need to see all the backsides. So, we’ll need to flip all the faces of the sphere. To do this, select the sphere in Blender and hit Tab to enter edit mode. Hit A to select everything and then hit ALT+N to get to the normals menu. Select Flip to flip all the normals around, thus making them point inwards.
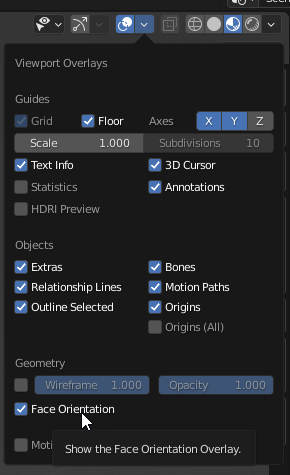
Normals are used to determine the in- or outside of the faces. It’s very hard to see this in Blender, but there’s a little trick to make it really visible. This can also be used to “debug” issues with faces in models. To see the orientation of the faces you can enable the Face Orientation Overlay. This can be found by clicking on the overlay dropdown on the editor.
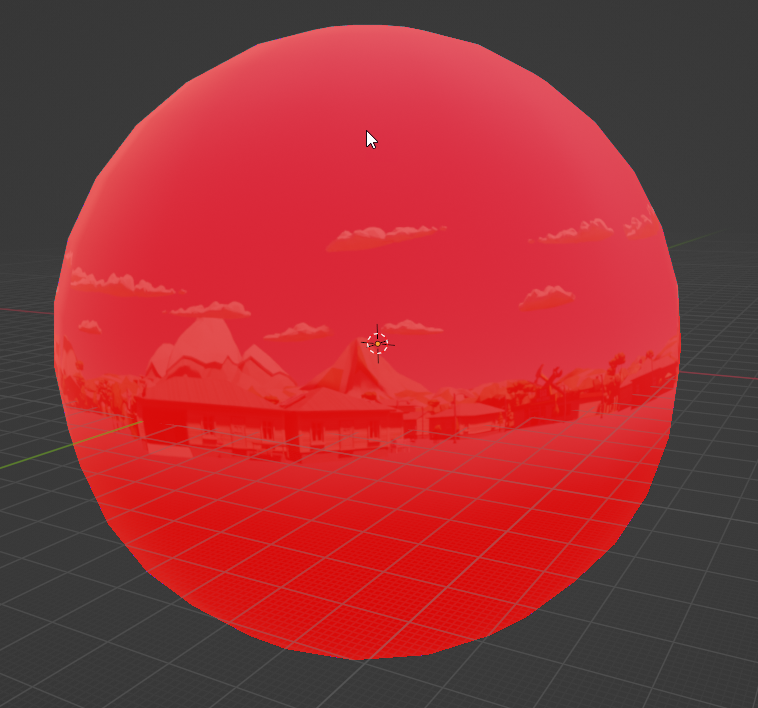
By checking that little checkbox the editor will add a blue or red color to the faces, where the blue faces are pointing towards you and the red faces away. In this case, when we look at the entire sphere from the outside it should be completely red.
And when we move inside the sphere, everything should be blue.
Great! The last thing to do is export the sphere to FBX through File->Export->FBX.
The sphere is ready to use now.
SkyDome in Wonderland
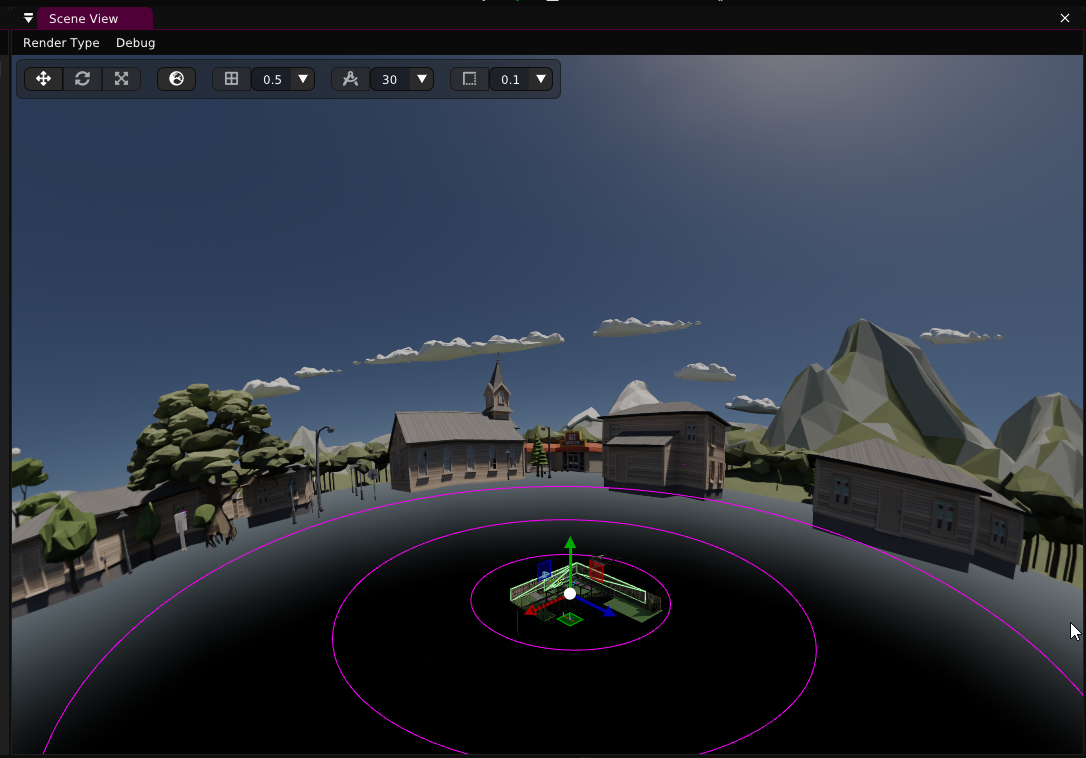
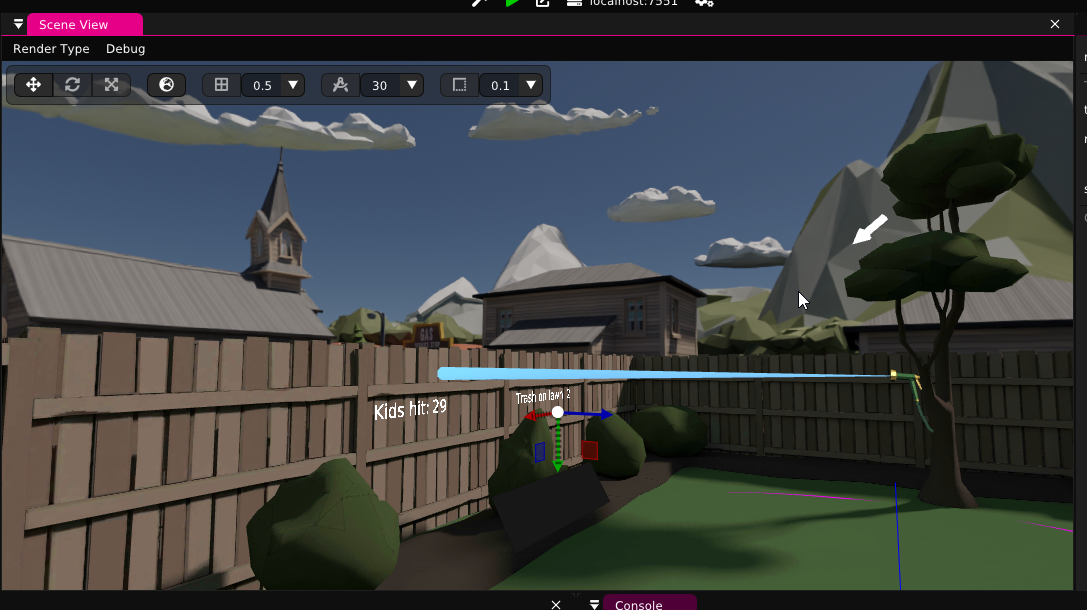
To use the skydome in Wonderland Editor just drag and drop the .fbx file into the /models folder. And then drag and drop it into your project. We don’t want the skydome to be affected by lighting. We need to make sure the pipeline of the material of the skydome is set to Flat Opaque Textured. You can do this by selecting it in the dropdown.
Now your skydome is ready to be admired in VR and all that there’s left to do is add everything else to make it into a game.
To hide the horizon of the skydome I used a big fence that fits the game perfectly. If you don’t have that option you might want to add other geometry close to the camera to hide it.
Wrap up
That’s pretty much all that there’s to it. If you want to have a look at this skydome in action, go to Get off my lawn! at Construct Arcade . Let me know if you have any questions or if you have requests for other tutorials.
