Assets from Unreal in WebXR
Intro
Although it’s not possible to export from Unreal to WebXR, there are a lot of very nice assets available in the Unreal Marketplace that could be useful for your WebXR game. The license allows you to use these assets in your game, except for products that have been created by Epic Games themselves. But, since Unreal Engine uses its own format for assets it’s not straightforward.
Assets
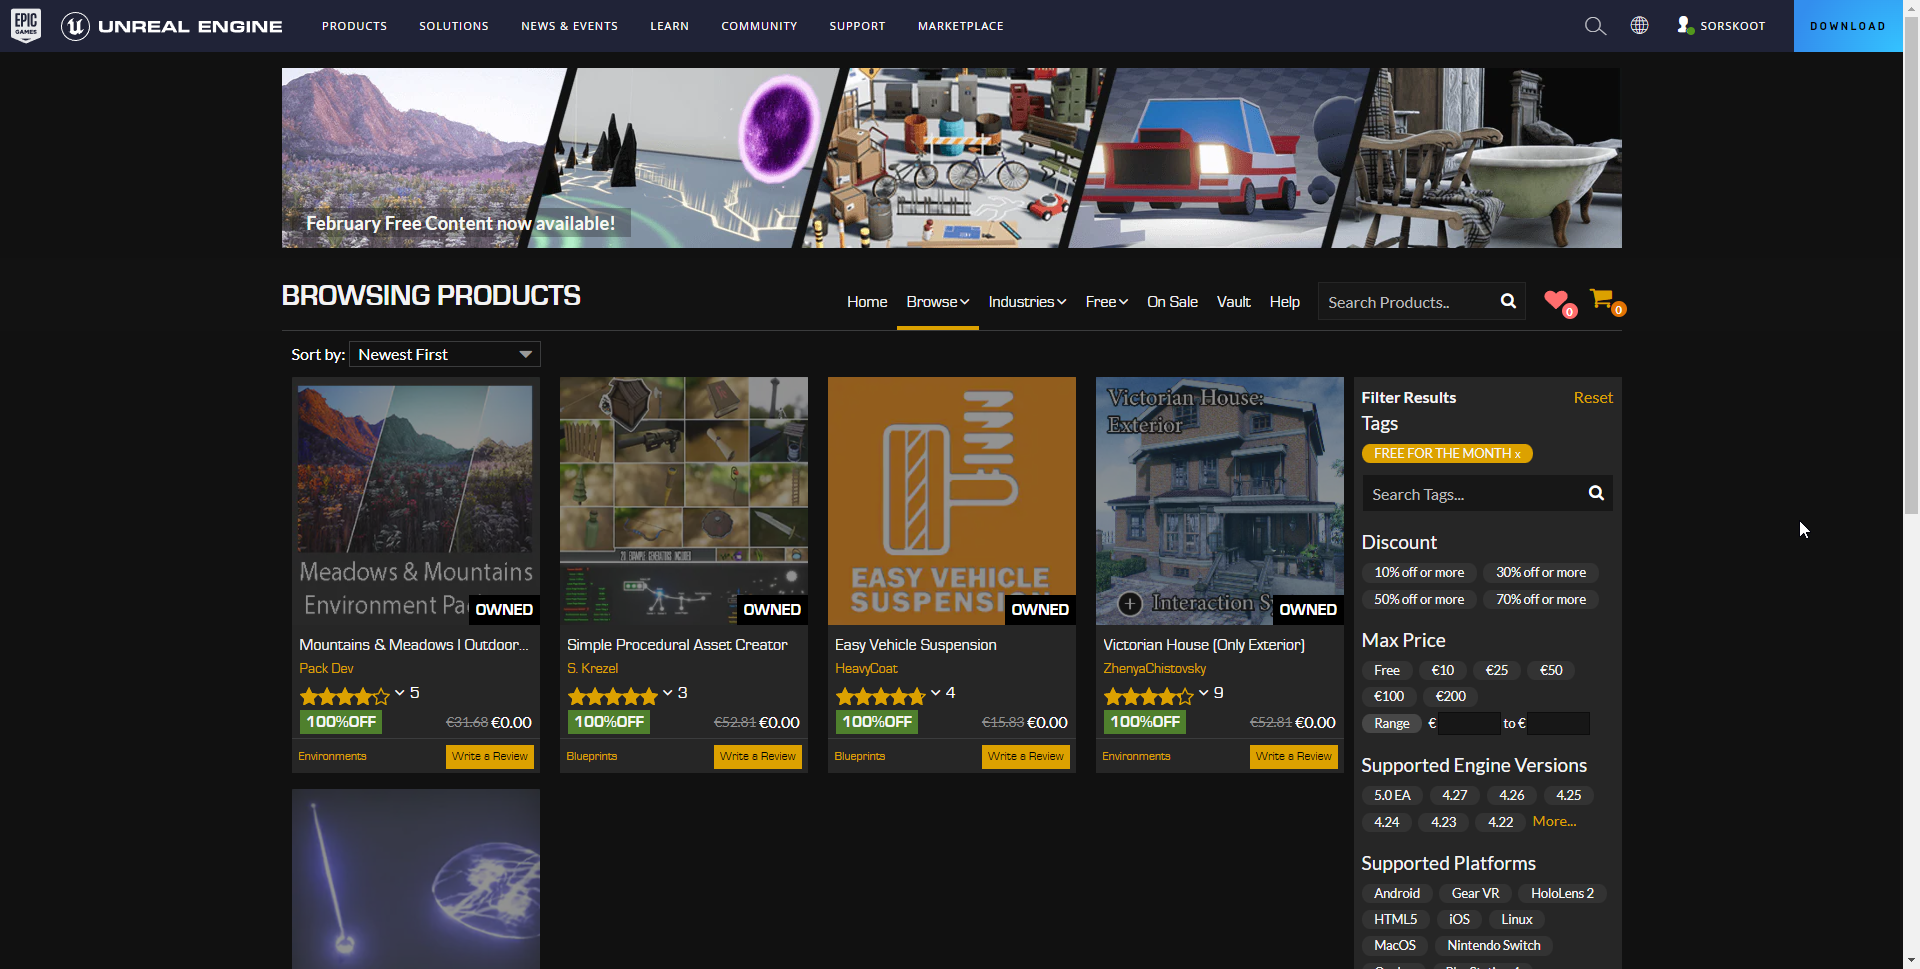
There are a lot of great free assets in the Unreal Marketplace. But, they can even get better. Every first Tuesday of the month, there’s a new set of assets available for free that would normally cost money: Free for the month . Even if you don’t need the assets right now, they might become handy at a later moment. If you’ve bought them for free they stay yours after the month is over and they return back to their normal price.
Unreal Engine
I’m going to assume you never have really used Unreal Engine before, otherwise, you probably won’t have ended up here. It could be a little bit of work to get everything to work, especially if the textures are in TGA format. But, it’s worth it. My Christmas-themed game Santa’s Workshop is built using an Unreal asset. I took the gamble to buy it and it worked out great.
First of all, you need to have the Unreal Engine installed on your computer. You can download it from here .
New Project
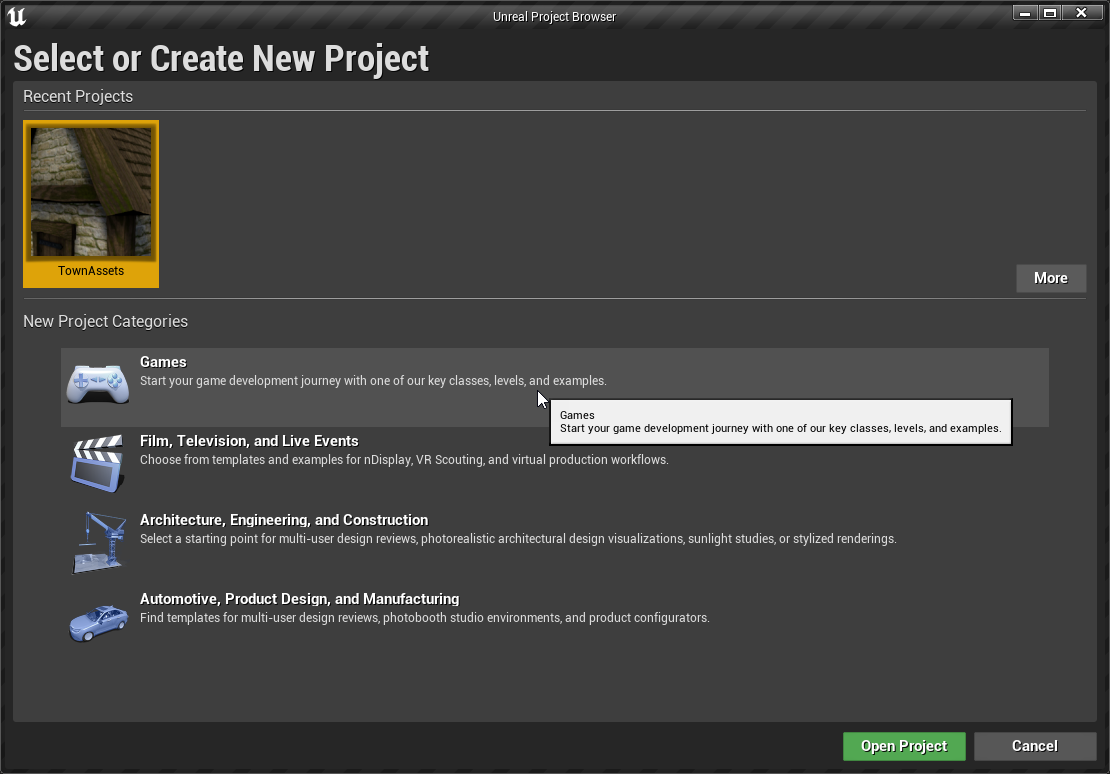
Now that you have the engine installed it’s time to launch it through the Epic Games Launcher and create a new project. As options, I just select Games, the Blank Template, and Blueprint. I don’t think it matters since we’re not using anything of Unreal except the exporter. I usually name the project after the asset I’m going to export.
Add Asset
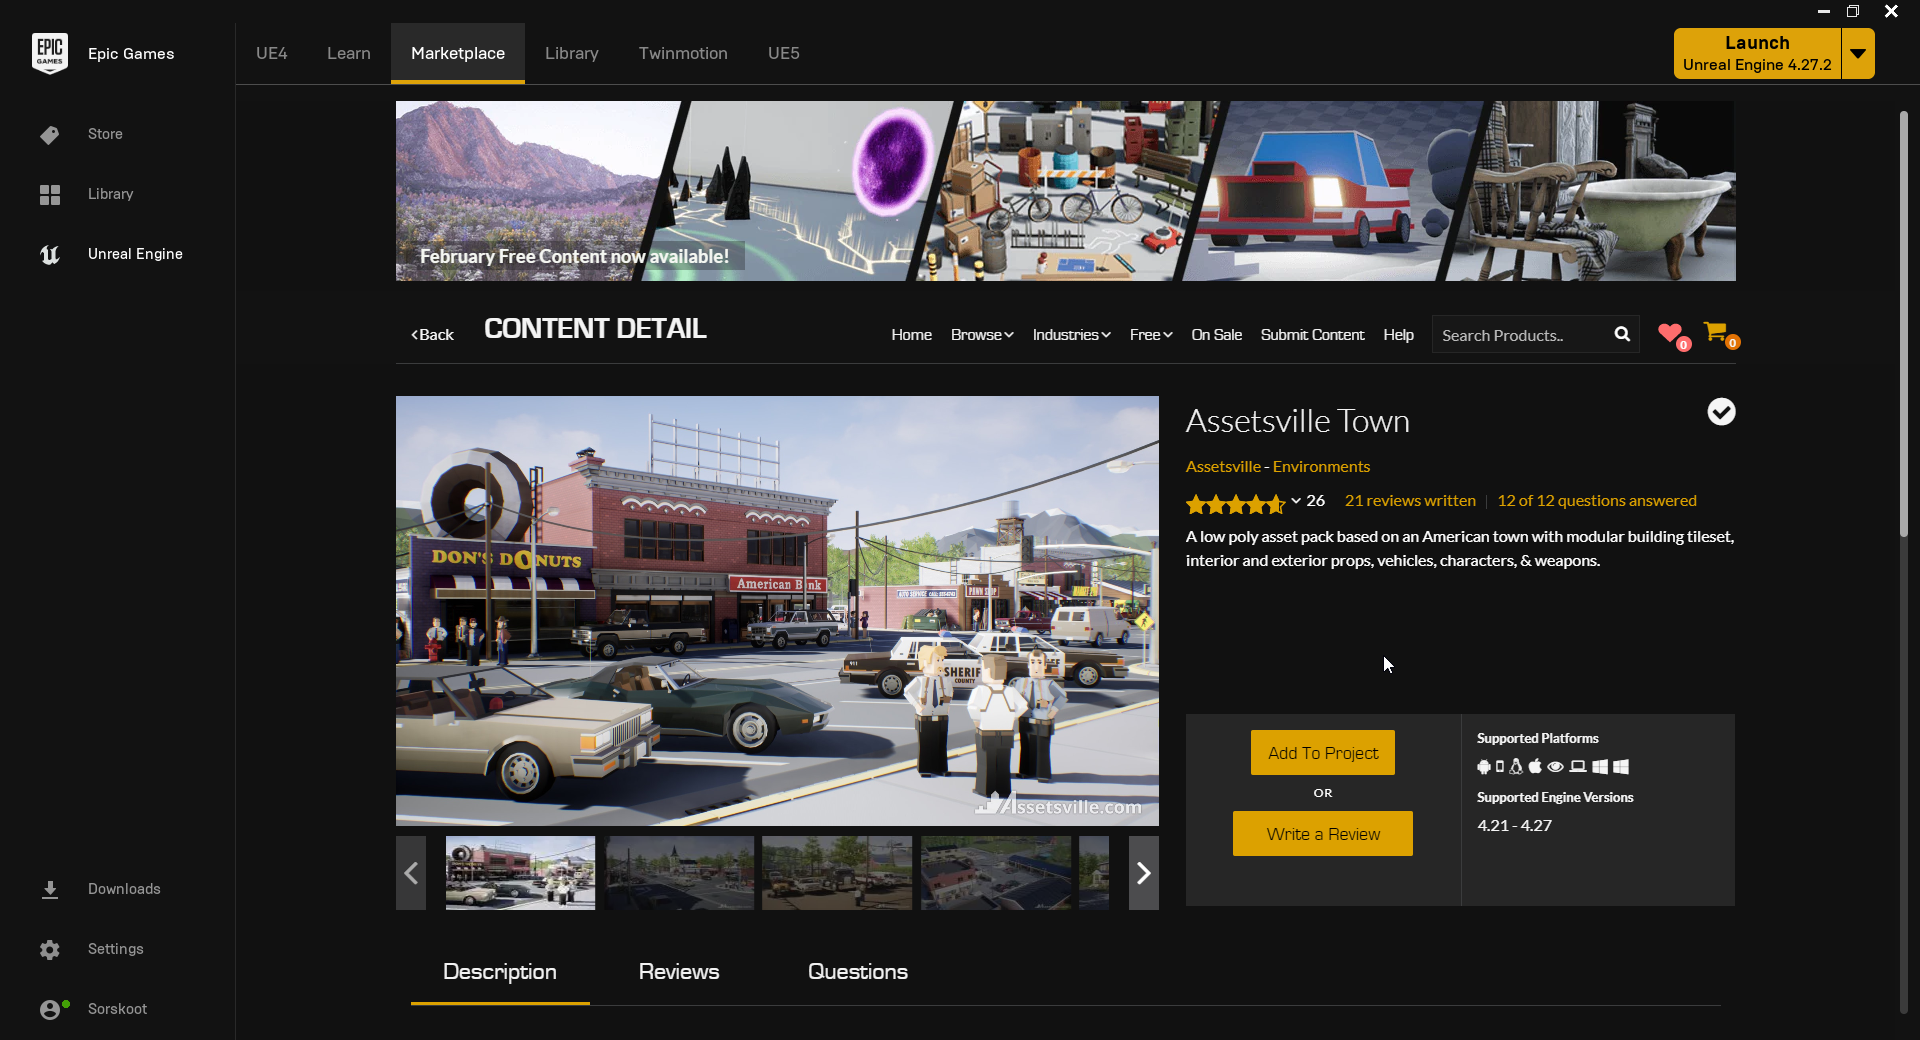
To add the asset we want in a WebXR project, we need to go back to the Epic Games Launcher and look it up in the marketplace, or the library if you have already bought it. After you’ve found it you just click Add to Project and select the project you want to add the asset to. If you haven’t used the asset before it will be downloaded.
Export Models
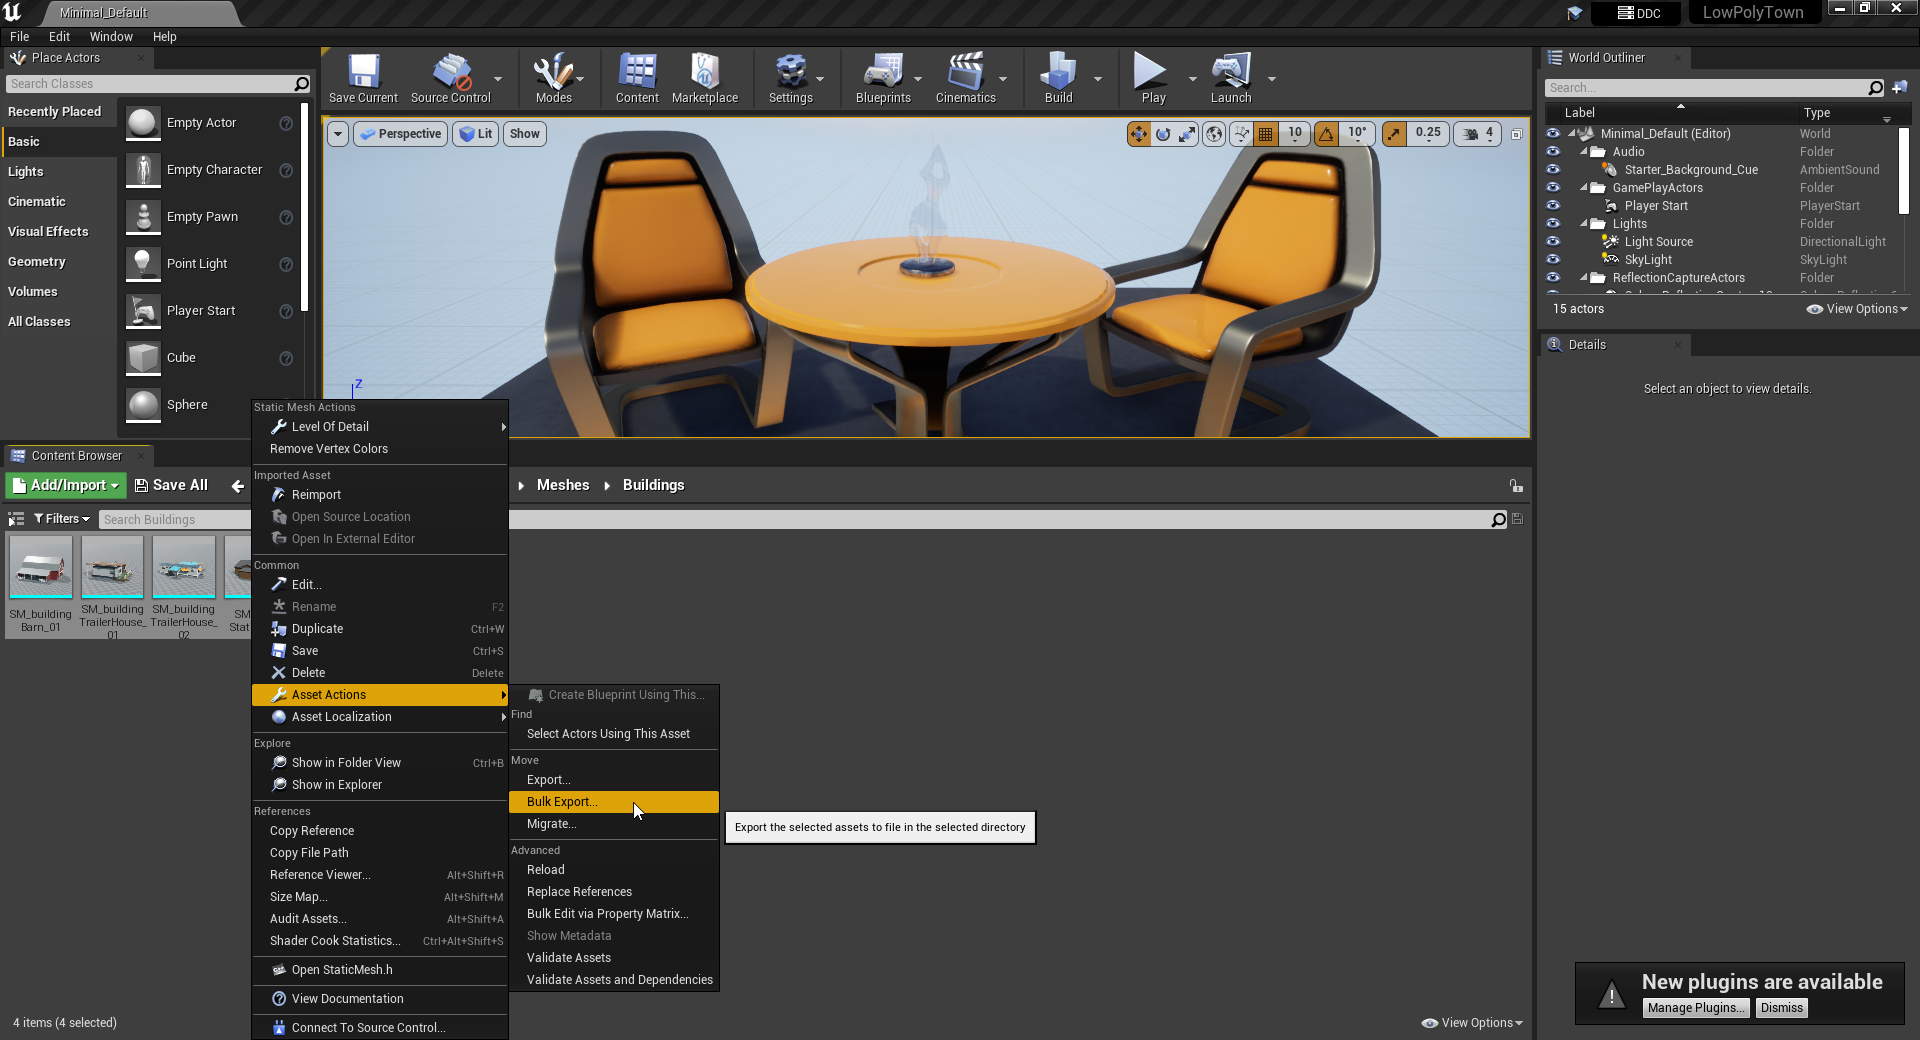
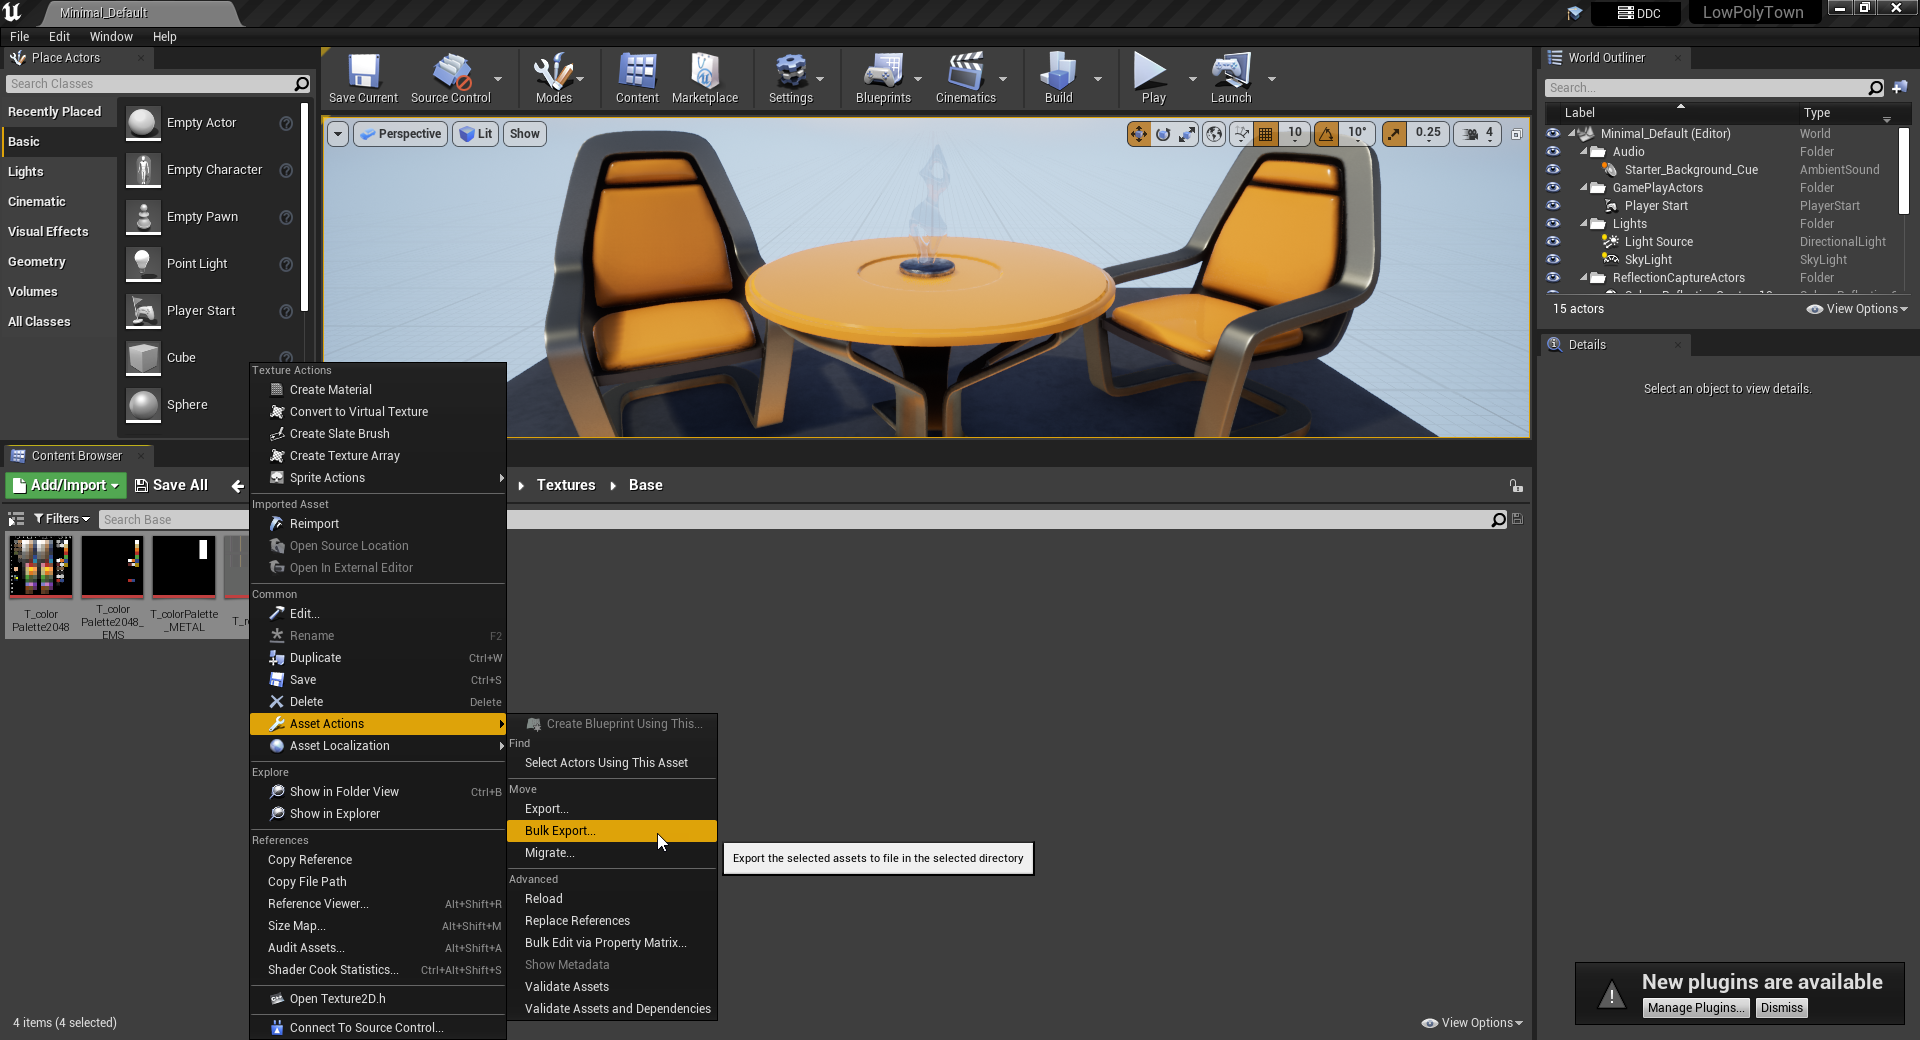
Now that the assets are in the project you need to open it again and look for them in the content browser, usually at the bottom of the screen. Once you’ve found the folder containing the models or meshes, you need to select them all. This can be done by hitting CTRL+A. Then you Right Click and from the context menu select Asset Actions -> Bulk Export. You need to select a folder you want to export the assets to. Keep in mind that you can only export one folder at a time. You need to repeat the process for every folder.
There are a few options you need to disable in the export. You don’t need Level of Detail, Collision and Preview Mesh as these will add geometry you probably don’t need.
Export Textures
The textures are not inside the models, therefore you need to export them separately. The process is the same as the models. The folder structure is the same as the folder structure in the asset pack. If you place the textures in the same place as you did with the models they end up following the correct structure.
Convert .tga to .png
There’s a big chance the textures you’ve exported in the previous step are in .tga (Targa) format. The tool you are going to use the models with is probably not going to support .tga files. If you’re going to build a level in Blender and bake your lighting it’s not necessary to convert the textures, because Blender supports TGA and in the export of the bake you can select to use .png.
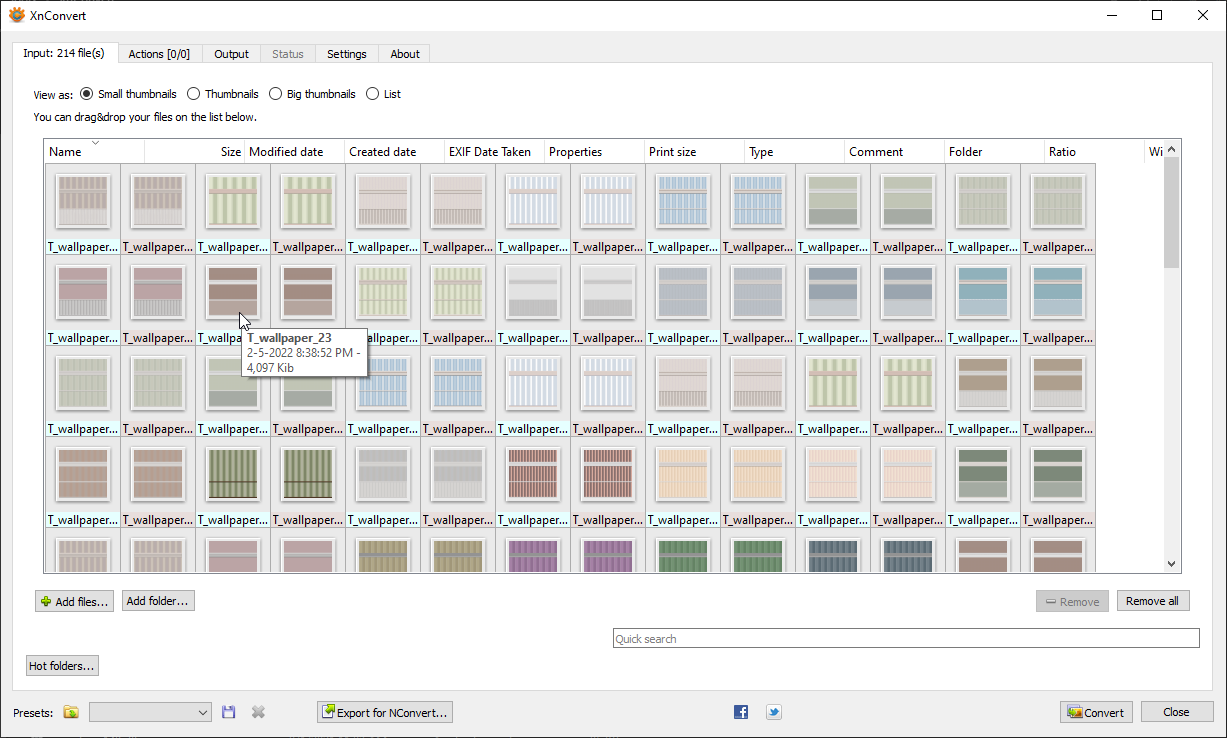
For converting the textures I use a free tool called XnConvert, which can be downloaded here . In that tool, you can select a folder and it will recursively search for all the .tga files and convert them to .png.
After selecting the folders you can go to the output tab, change the format to .png
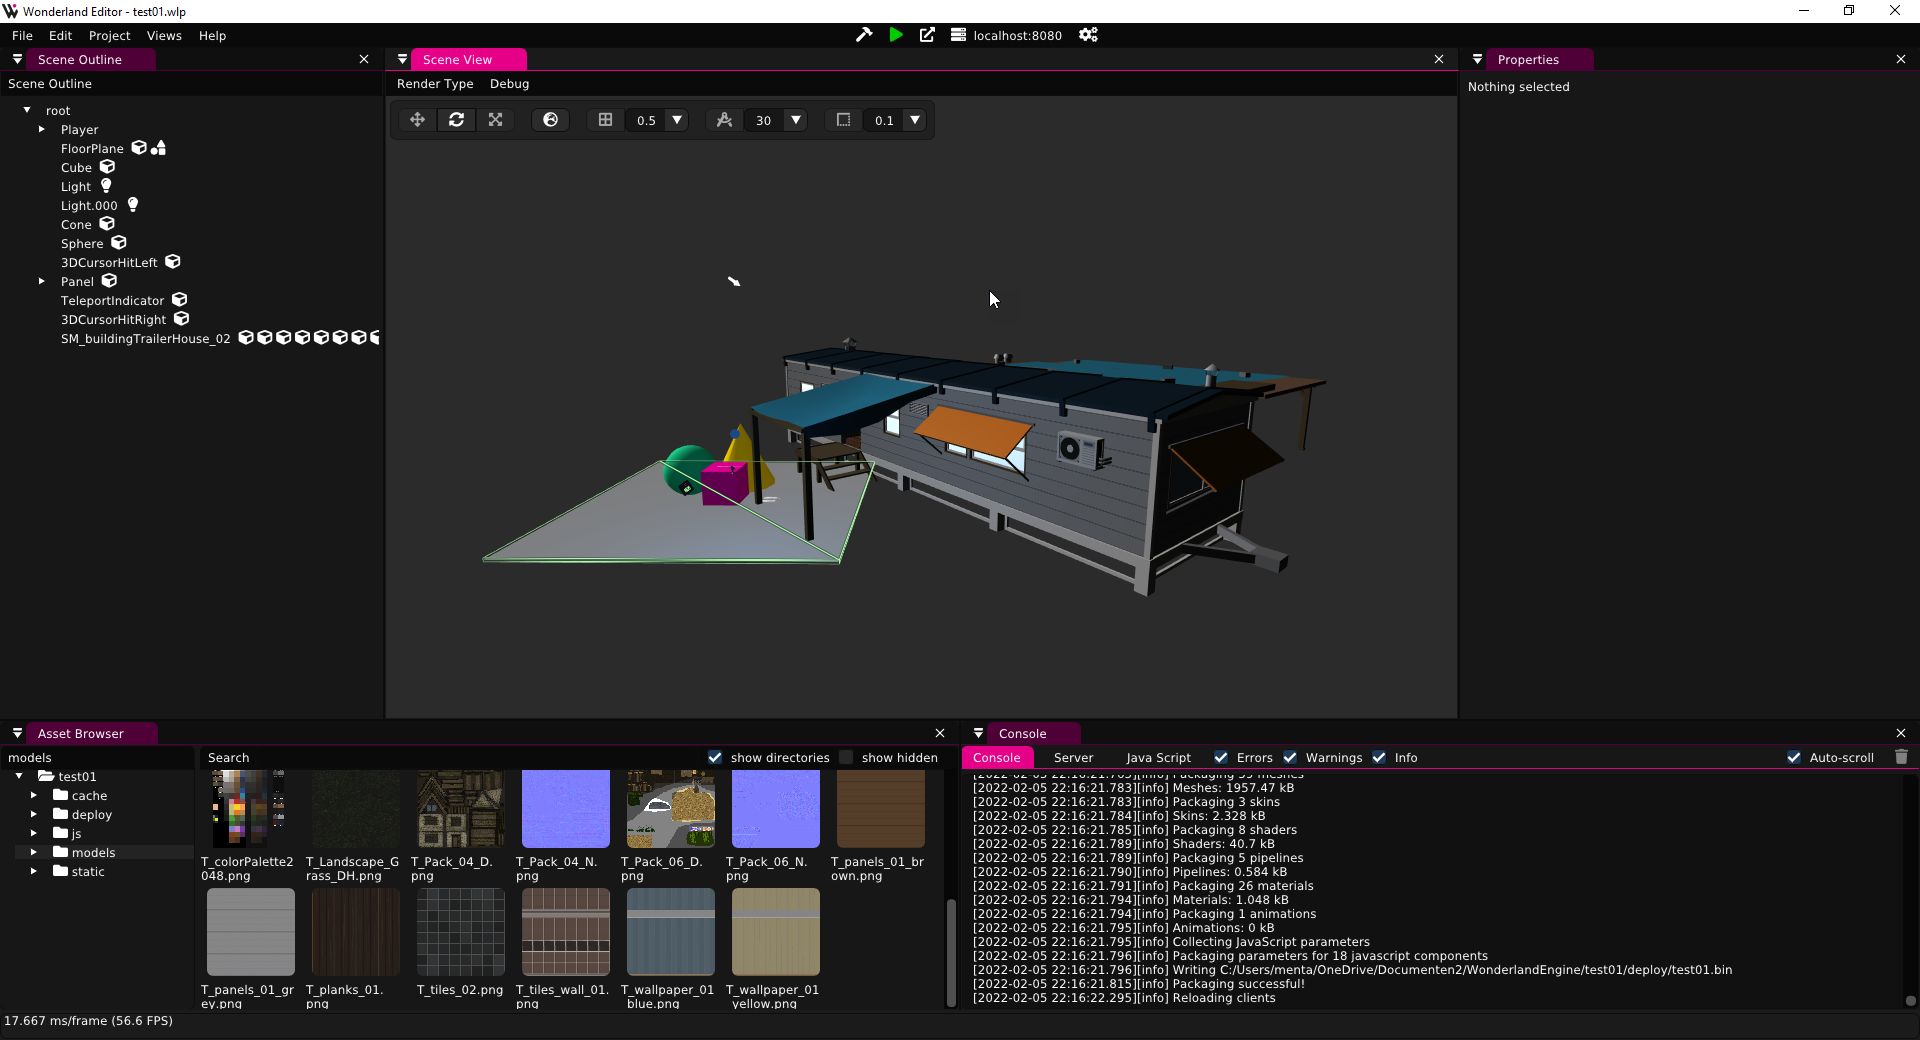
Use the assets
Now that you have the assets you can use them in your game. Keep in mind that the materials on the models are broken since they’re converted to .png. You need to fix them manually in the game engine you’re using.


