From KenShape To WebXR
There are a lot of ways of creating content for your WebXR apps. Today I want to introduce you to a very simple one and one of my favorites: KenShape . KenShape is a tool that at first looks like a pixel-art sprite editor. And the first step is pretty similar. But, by providing a depth value you can create a 3D solid object from it. Other than with a normal pixel-editor, you can use shapes other than squares to draw your models.
Before we go into details on the editor, I need to clarify one thing. KenShape is not a free tool, but it costs only $3.99 and in my opinion well worth the money.
Creating a model
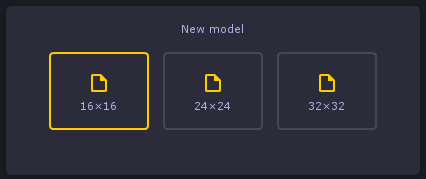
When you start the tool you are presented with 3 options for sizes of your model. 16x16, 24x24, or 32x32 pixels. For this example, I create a 16x16 model. Keep in mind that the depth is 8 pixels or voxels for every size.
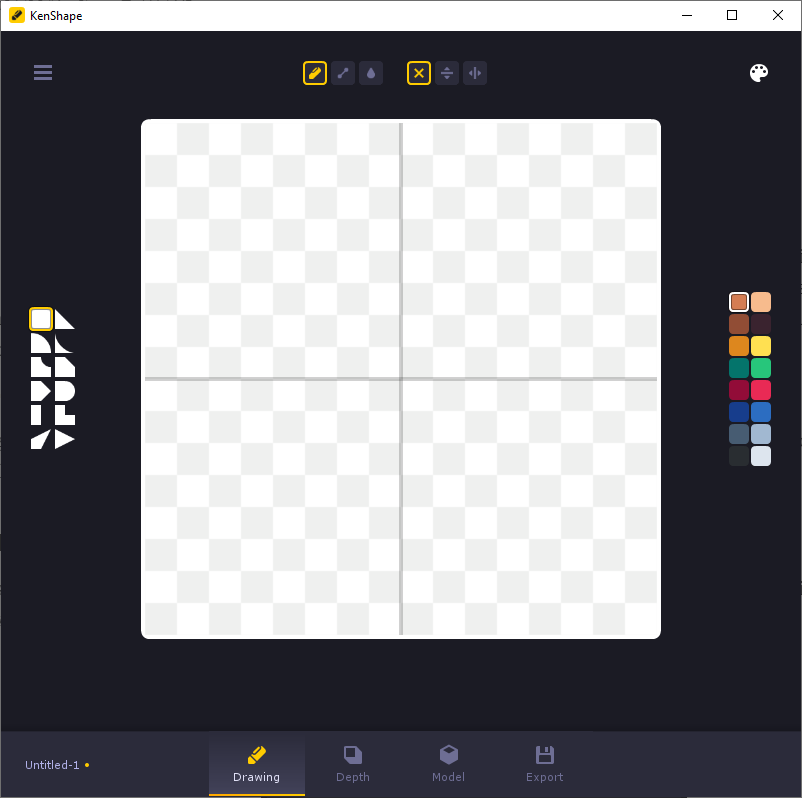
At this point, we are presented with a blank canvas on which we can start drawing our model. On the top, we see the drawing tools: a pen, for drawing pixels; a tool for drawing straight lines; and a tool to fill an entire area. The three options next to that let us mirror our drawing horizontally, vertically, or disable the mirroring.
On the left side of the canvas are the different shapes you can use to draw your model. By pressing the spacebar or by using the scroll wheel on your mouse you can rotate the shape.
On the right side, there are 16 colors you can use. Through the palette icon in the top right corner, you can load other palettes. I often use lospec to find palettes to use.
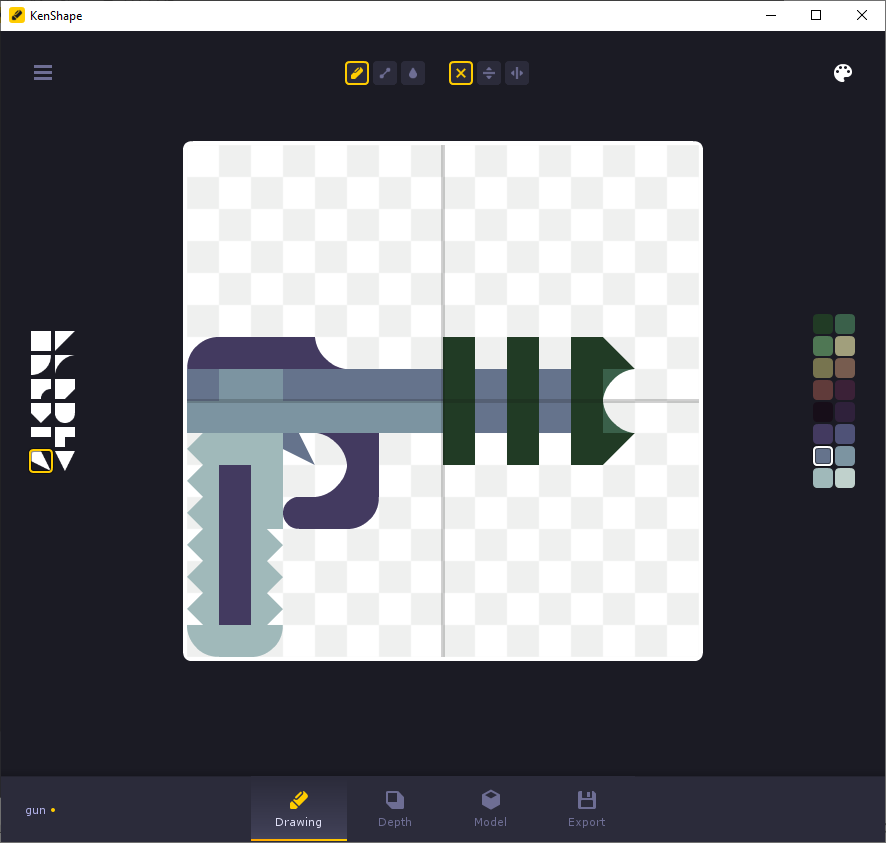
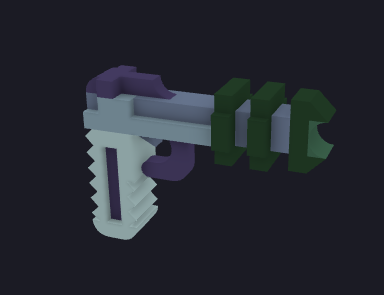
I decided to draw a little space gun model for this tutorial. I loaded a custom palette. As you can see there are a lot of different shapes in here, not only the squared pixels you would get in a normal pixel-art drawing.
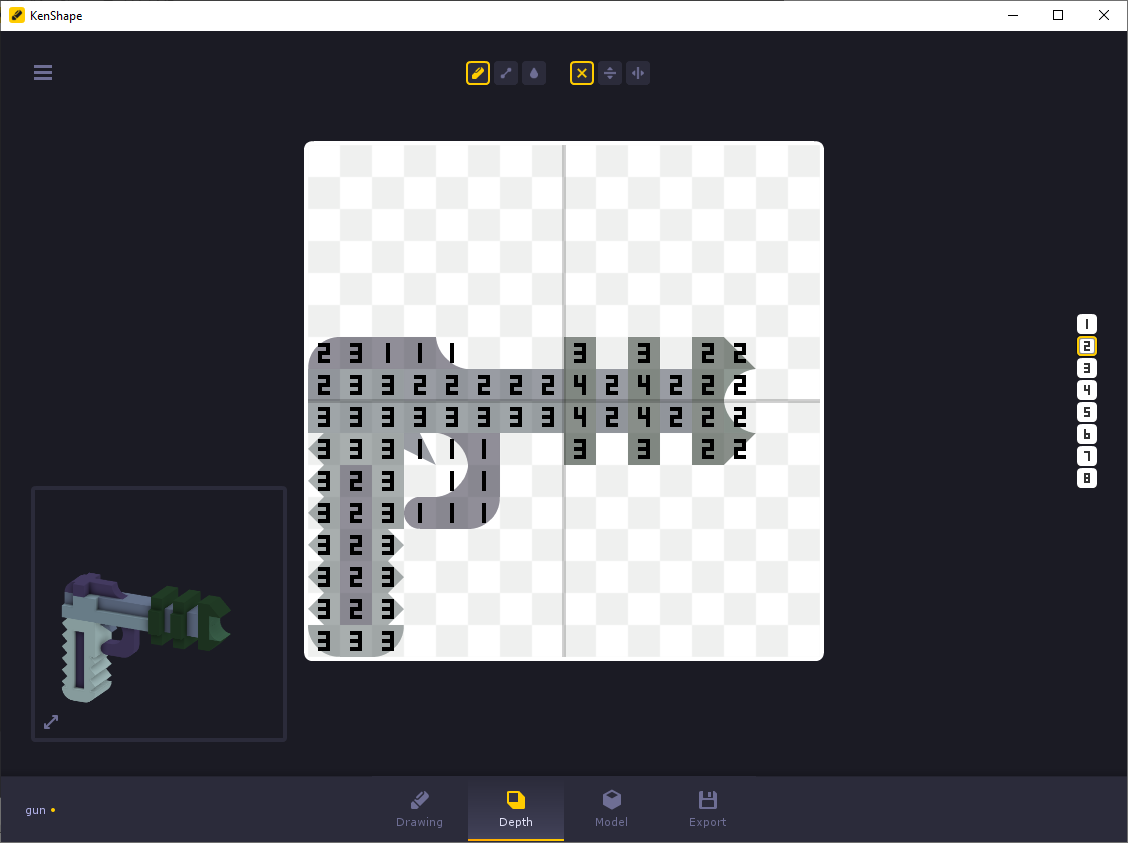
Once we have drawn a model we can start adding depth to it. By adding the numbers 1 to 8 to our image we can extrude based on those values. The numbers mean we extrude each pixel, giving it depth. Keep in mind that when creating your own models, that they are always mirrored and that you can add details to the front/back or top/bottom unless you open the final model in another editor.
Now we’re done with modeling our gun we can review de model. I like it. So, next, let’s export it.
For use in a WebXR project (in this case, I use
A-Frame
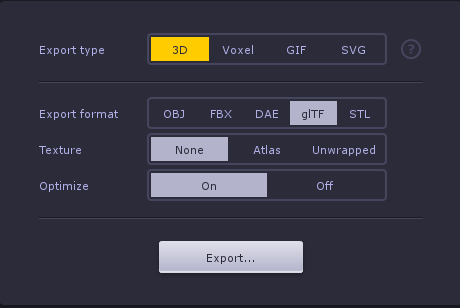
) I export to GLTF. I leave the rest of the options as is. If you want to edit the model further in another program, you might want to create a texture and export it to FBX or something your tool of choice can import. By hitting export... you save your model as a GLTF. Time to use the model.
Using the model
Now that we have successfully created a model. It would be fun to use it in a simple A-Frame scene.
There’s one thing to keep in mind when working with these models. The scale is in meters, where every voxel is 1m by 1m by 1m. So we need to scale everything down significantly.
In the code example below I loaded the model using assets. This way it’s easy to reuse the same model multiple times and, in case of a change, you only have to change it in one location. I called the asset gun-model.
Then I added pretty much the same code twice. One for the left controller and one for the right controller. Since I wanted to show the same gun in both hands the code is equal. To get the position and the scale right it’s just trial and error. I made heavy use of the A-Frame inspector (of which I created a video a while back 😉).
closing words
I hope this tutorial will help you create your own content for your WebXR games. If you have any questions or ideas, hit my up at the WebXR Discord .


