WebXR Pass-through on Quest
What is pass-through?
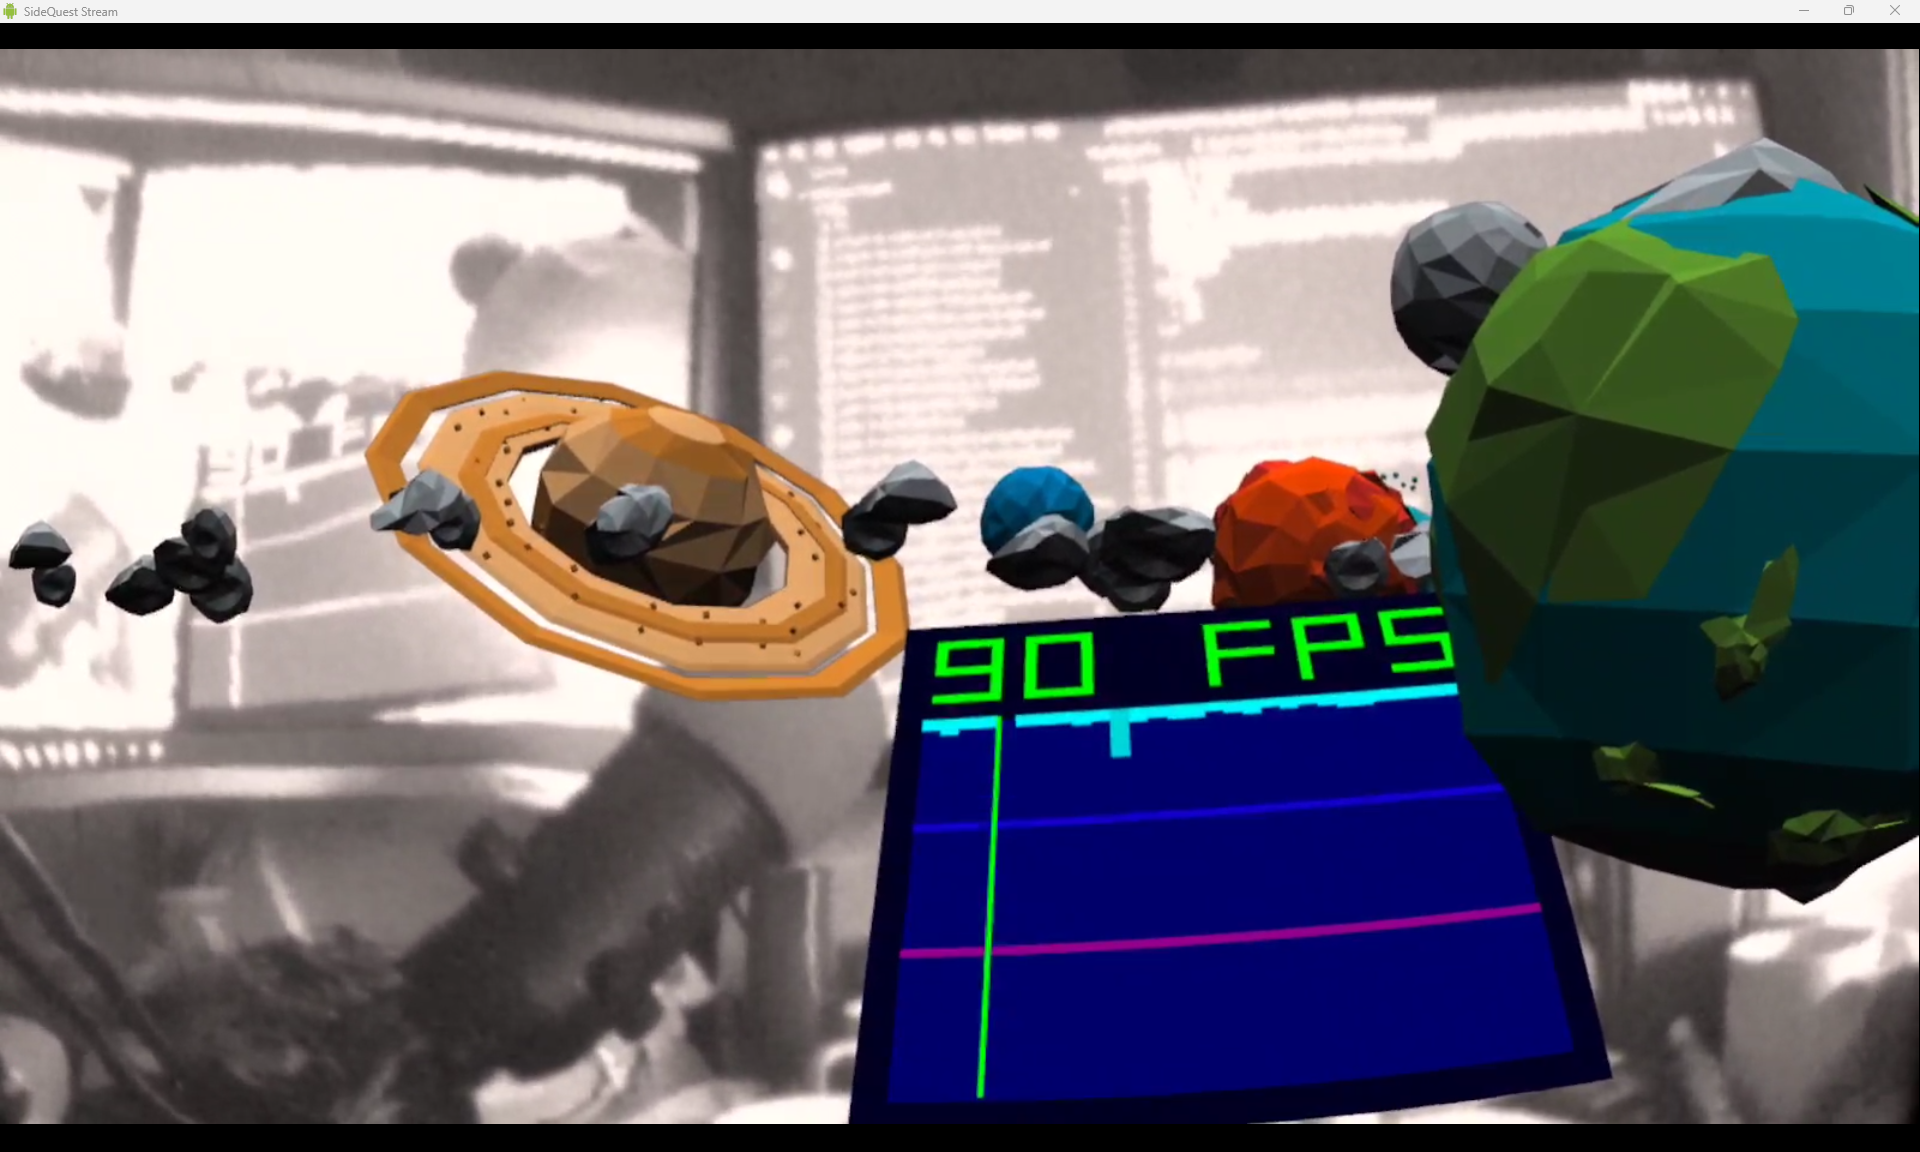
With Pass-through, you can take a break from your virtual reality experience and get a real-time glimpse of your surroundings. The sensors and cameras on your headset give you a sense of what you would see if you could look directly through the front of your headset. Also, pass-through automatically appears when you’re setting up or making changes to your Guardian. But, some apps even use this feature to blend your real and virtual environments. That blending of real and virtual environments makes pass-through interesting and brings VR devices closer to Mixed Reality devices like the Microsoft HoloLens. And, most important, it can be used from WebXR as well.
The Meta Quest 2 can display pass-through in black and white, while the Quest Pro can display it in color. Unfortunately, I don’t own a Quest Pro (yet) so the examples are in black and white.
How to enable pass-through
When creating a WebXR VR session in your JavaScript app, you’d normally call the requestSession function on navigator.xr and pass it the immersive-vr parameter. To get the pass-through in your app on the Quest, change the parameter to immersive-ar. The code might look something like this:
let xrSession = await navigator.xr.requestSession("immersive-ar");
Because you are running this on a website, you’d never know who and what device is trying to enter AR mode. To check if it is supported, you can call isSessionSupported before requesting it.
if (await navigator.xr.isSessionSupported("immersive-ar")) {
  let xrSession = await navigator.xr.requestSession("immersive-ar");
  // do XR stuff
} else {
  // show a message
}
Here’s a nice example of this feature running: https://cabanier.github.io/webxr-samples-1/immersive-ar-session.html
If you’ve ever built a WebXR AR app for Android this code might look familiar. And you are correct! That’s one of the great things about WebXR: If the device supports a feature, it works.
How to create AR WebXR in A-Frame.
If you are creating an A-Frame app, getting the pass-through to work is even simpler. You have to do nothing :) A-frame checks if your device supports the immersive-ar-mode and if it does, it shows the button to enter AR.
For example, you can try running this sample from your Quest to see it work https://aframe.io/examples/showcase/helloworld/
How to enable it in Wonderland Engine
Wonderland Engine also comes with the ability to enable pass-through mode. To enable this you’ll have to change to properties in the project settings.
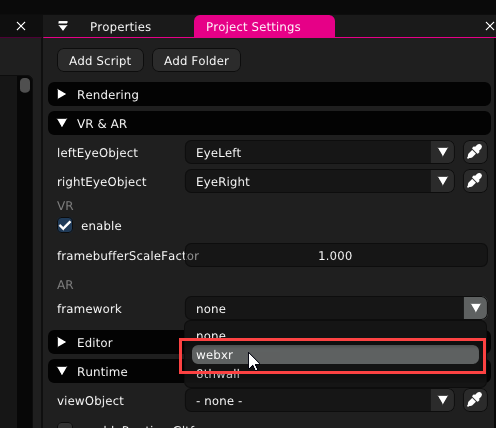
The first one is to enable the AR mode. This can be done in the VR & AR section. In the framework dropdown, under AR, select webxr.
Having this set enables the AR button when running if your device supports it. By default, the scene has a grey background. To see the real world you’ll have to make it transparent. To do this look in the Rendering section and change the A (alpha channel) of the clearColor to 0.
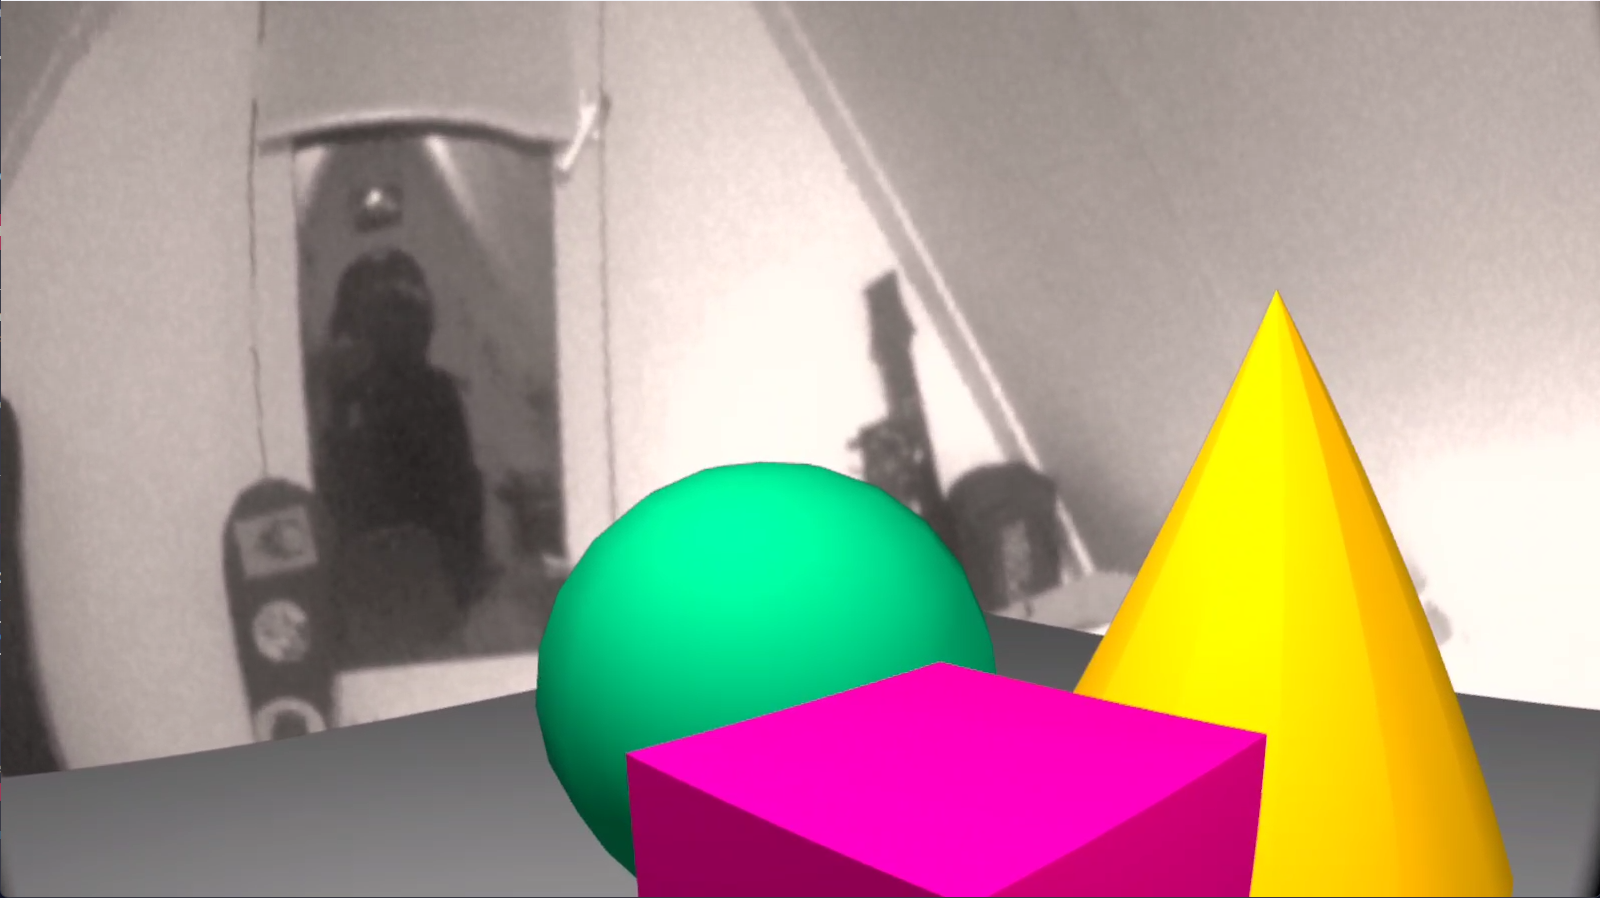
When you run the application on the Quest it looks something like this:
Where to go next?
Viewing 3D models in AR can be fun by itself, but it would be nice to be able to place them in the real world. And maybe even anchor them so they are persisted in a specific location. While this is possible, it is too much for this tutorial. So stay tuned for that ;)


